This is a card that I made and gave to my mom for Christmas – I gave her 10 of these and 10 of a card I’ll show you later. My mom lives in the mountains in Colorado and loves all things woodsy – particularly pine cones! When I saw this set in the 2014 Holiday Catalog – it was the first item I ordered from Stampin’ Up! While it is certainly great for Christmas cards, it’s got a lot of uses for the rest of the year. You should probably plan to see more cards using this stamp in the future!

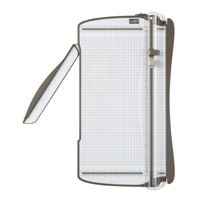
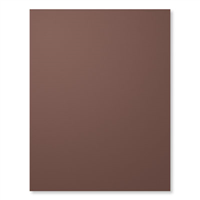
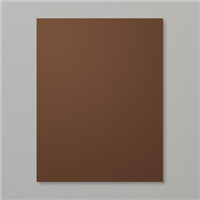
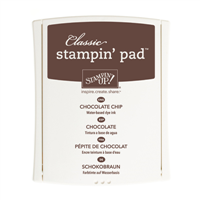
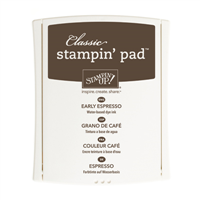
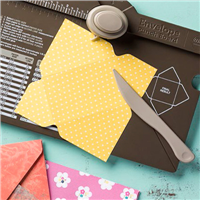
The technique on this card is one that I found on Pinterest (gotta love Pinterest!). At first blush, it appears pretty complicated, but once you break it down into easy pieces, you’ll see it’s a straightforward technique – and it can be used with all sorts of stamps. I’ve provided all the card cuts and supplies below. Not everything in this card is from Stampin’ Up – I was in California on an extended business trip and didn’t have all my SU with me. So, I made do – but I’ll try to tell you which SU products would work well on this card. I started with a dark chocolate brown cardstock (try Chocolate Chip or Early Espresso in SU), and used my paper trimmer to cut it to 8 1/2″ x 5 1/2″ (keep the trimmings – you can use them for one of your mats!), and then scored and folded it at 4 1/4″. Use a bone folder to make your crease sharp! Then, I made all my card cuts at once. Just cause I like the assembly line process if I’m making a bunch of the same card. Using the same color cardstock as your card base, for each card, cut a 3 1/4″ x 4 1/2″ mat and a 2 1/4″ x 3 1/2″ mat. For the light, stamped portion, I used a vanilla/cream cardstock (I’d go with Very Vanilla in SU). For each card, cut 3 mats: 4″ x 5 1/4″; 3″ x 4 1/4″; 2″ x 3 1/4″. With all the cutting out of the way you can start stamping and assembling! First, take the 3 Very Vanilla mats and, placing them on top of one another, use a little piece of tape (either double sided or a regular piece rolled inside out – does that make sense?!) to secure them lightly together. Put the tape right in the middle of the back of the two smaller mats. When you’re done – you’ll have a stack of mats that looks like this:

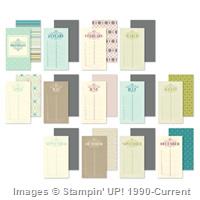
First, stamp your sentiment onto the smallest mat. I used a non-SU “Just a Note” stamp, and inked it with SU Old Olive. You can put it wherever suits you on that small mat – I liked it in the bottom right corner. (I’m asking myself why I didn’t take a picture of the mats in a portrait orientation….just goofy, I guess!) Then – ink up your background stamp. For this one, I used SU Old Olive ink on the needles and didn’t really worry about the stem portion. Stamp it all over your stack-o-mats. Go off the edges, turn the stamp around – make it random. You can stamp as many times as you want to – I was looking for the forest-y appearance that I got.

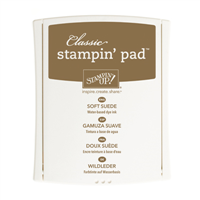
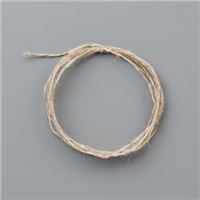
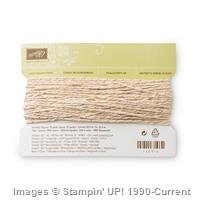
Next, you’re going to randomly stamp with your accent piece. I used Staz-On Timber Brown because it’s what I had, but SU Chocolate Chip, Early Espresso or even Soft Suede would look very nice. Heck – go crazy and have a few of each color! 🙂 Again – go off the edges of the mats, turn the stamp around – pine cones don’t all grow exactly the same way in the forest! Do as many or as few as you like. You can see I liked “many”! Okay – easy, peasy so far, right? Now. Carefully pull the mats apart. It’ll help to keep them all in the same orientation as you do this part. Then, layer the mats back together, but stick the “right” size dark mat between each stamped piece. I did a dry fit with mine – to be sure that I had all the stamps going the right way. The card base itself is the bottom “layer”. I adhered all the stamped Very Vanilla pieces together with their mats – use SNAIL for this part. Then, I wrapped some forest-y green twine twice around the layers (in SU think Linen Thread, Thick Baker’s Twine in Baked Brown Sugar, or maybe Gold Metallic Baker’s Twine), and added a button and a little bow. We’ll talk about bows later – they’re kind of the bane of my crafting existence! For some reason, I just can’t do them “right”. To say that it took me forEVER to make 10 cards with little perfect bows on each and every one….yea. Hello, Captain Understatement! I put a little teensy drop of liquid adhesive under the button/bow combo to keep it all in place.

I then adhered the card front to the card base with SU Dimensionals and – the front was done! I used a piece of my vanilla cardstock (4″ x 5 3/8″) and stamped a corner with the pine needles and the cone and adhered it inside my card. I did the same corner treatment to a Cream envelope, just to complete the ensemble.
 And that’s it! All done! I’m really happy with this card – love the entire thing, and am really partial to this technique as well. I hope that you’ll give this a try – I think the possibilities are endless!
Card Stock Cuts for the Project: Chocolate Chip/Early Espresso: card base 8 1/2″ x 5 1/2″; 3 1/4″ x 4 1/2″ mat and a 2 1/4″ x 3 1/2″ mat Very Vanilla: Mats 4″ x 5 1/4″; 3″ x 4 1/4″; 2″ x 3 1/4″. Card inner liner 4″ x 5 3/8″
JANUARY 1 – 31 HOSTESS CODE: RMQE9AEQ Use this hostess code when you order and receive a free gift from me! But, if your order is over $150, please do not use this code (you’ll miss out on your own Stampin’ Rewards/Hostess $$ if you use it) but you’ll still get the free gift. The free gift for January is your choice of any item valued up to $4.95 in either the 2014-15 Annual Catalog or the 2015 Occasions Catalog!
STAMPIN’ UP! ITEMS USED IN THIS PROJECT


Supply List
Built for Free Using: My Stampin Blog
- Visit my online store here
- Shop the Clearance Rack here.
- Earn FREE Stampin’ Up! Products – Join my Punkin Head Peppermint Rewards – My online customer thank you program!


 #20 Demonstrator in Sales in the US 2023-2024
 #13 Demonstrator in Leadership in the US 2023-2024
 #21 Demonstrator in Team Building in the US 2023-2024


 KarensCardCorner
 Stamp with Amy K
 Stampin With Shirley G
 Tarabeth Stamps
 TL's Bright Spot