Good morning and Happy Friday! My fave day of the week! Not cuz we’re headed into the weekend (although after working for 30 some-odd years, I DO still gaze at the next 48 hours of being “off” with affection!). No. It’s cuz this is Miss Sonya day! By 2pm – my house will be Finn-fuzz-free and smelling all fresh!
By 5pm …the Finn-fuzz with have returned. But boy do I love that 3 hours each week! 😂😂😂
If you were able to join me yesterday afternoon for my YouTube tutorial, I appreciate you spending part of your day with me! If not, but you’d like to see the replay – here ’tis!
And – I am not a dumb woman. I’m an engineer. But – the first few minutes…sheesh. My brain stopped doing math. Like…at all. So…bear with me, y’all! 🙂
This card is an Arrow Fun Fold, which seems to be all over the internet right now – but I used measurements from Lisa Curcio to get started.
This is another fun sneak peek of the Eden’s Garden stamp set and bundled Eden Dies – with the gorgeous Ever Eden Specialty DSP. Take a look-see:
![]()
And – I think it’s pretty darned perfect for the Watercooler Wednesday Challenge.

I started with a 5 1/2″ x 8 1/2″ piece of Evening Evergreen cardstock that I scored and folded according to the template below, using the scoring blade on my Paper Trimmer.

Once I had folded and burnished the score lines, I used Liquid Glue to adhere the parts together. This next picture shows how the folds look from the inside.
![]()
I cut a 4″ x 5 1/4″ piece of the Ever Eden Specialty DSP and a 4″ x 5 1/4″ piece of Basic White into triangles as shown below.

Using Liquid Glue, I adhered the large DSP triangle to the large triangle on the front of the card. It isn’t a perfect fit – but I made sure the top and sides were good and square – knowing that the point would be covered by the sentiment.
![]()
I used Liquid Glue to adhere the two small DSP triangles to the inside of the card.
I inked the large floral image from the Eden’s Garden stamp set in Soft Succulent – then stamped it off once on scrap paper and stamped it in the middle of the large Basic White triangle. Over the top, I added a sentiment from the set in Evening Evergreen (this is one of my fave sentiments of all time!).
![]()
I used Liquid Glue to adhere the triangle in place on the inside of the card.
For the front, I stamped an Eden’s Garden sentiment in Evening Evergreen on a piece of Basic White – then I stamped a small leaf image over the top of it in stamped-off-once Soft Succulent. Then I cut it with a smooth-sided Layering Circles Die. I cut a slightly larger scalloped edge circle from Gold Metallic Specialty Paper and used Liquid Glue to mat the sentiment to it.
![]()
I used the long, banner shaped die in the Eden Die set to cut a Soft Succulent shape – which I adhered to the front of the card with Liquid Glue.
I cut the smaller frame die from a piece of Gold Metallic Specialty Paper and used scissors to cut four little “sprigs. Then I used the small leaf die in the set to cut two Evening Evergreen leaves.
![]()
Using Liquid Glue, I adhered the sprigs and leaves onto the Soft Succulent die cut “banner”. Then I used Liquid Glue to adhere the matted sentiment over the top.
I added some Soft Succulent gems from the Garden Gems pack (also coming on 2 Nov with the Suite) to the card front – and to the inside by the sentiment – and the card was done!
![]()
My Basic White Medium Envelope got the Eden’s Garden leaf image in Soft Succulent on the front…
![]()
..and more of the Ever Eden Specialty DSP on the envelope flap.
![]()
Et Voila! Isn’t this new Eden’s Garden stamp set, with the bundled Eden Dies, and Ever Eden Specialty DSP just gorgeous!? I love the organic, botanical images in the stamp set and designer paper, don’t you? And the sentiment pairs are really lovely! Are you SO excited for 2 Nov when YOU can get these goodies?? I hope so. Heck – I’m excited FOR you! 😉
![]()
I hope you like!
If you’d like to recreate this card, all the products and card cuts are listed below!
TTFN
M

Connect with me! https://campsite.bio/stampsnlingers
I’ve created a printable PDF with written instructions and a list of the products used to create this project. You can download, print and/or save it by clicking this image:

And – if you’ve missed any tutorials – or just want to be sure you have NOT! – check out my Free Tutorials Page!
HOST CODE FOR 16 OCT – 31 OCT: F3UQFV9T
Use this host code when you order $50 or greater and receive a free gift (AND the Monthly Card Tutorial) from me! If your order is over $150, please do not use this code, but you’ll still get the free gift. The free gift is your choice of any item valued up to $10.00 in any active Catalog! That includes some of the Host Exclusive stamp sets! See my Customer Rewards page for full details.
Note: Make sure that you can see my name on the final checkout page listed as your Demonstrator when you order so that you know that you’re ordering with me and you’ll get my rewards!
You’ll also be getting a link to my ZOOM The Craftroom (an exclusive TWICE-A-WEEK online event for my customers) and the monthly Online Tutorial. The October Tutorial features the Sparkle of the Season Bundle!


Stamps-N-Lingers Paper & Packaging Special Going on Now!
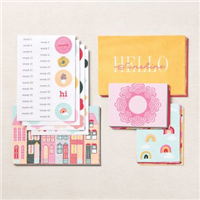
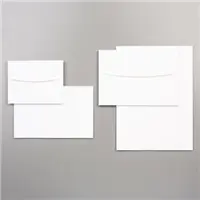
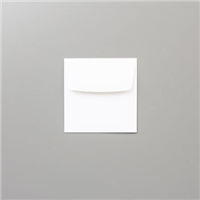
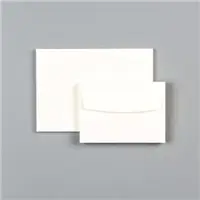
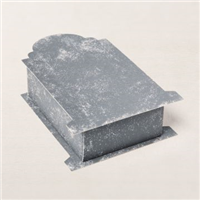
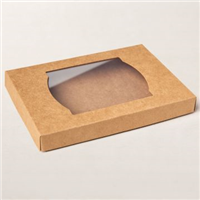
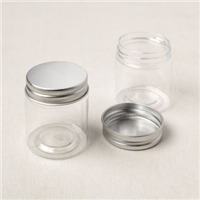
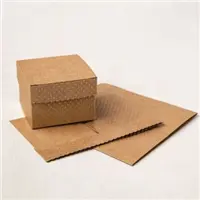
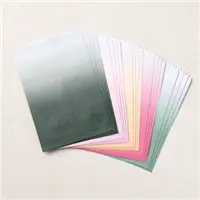
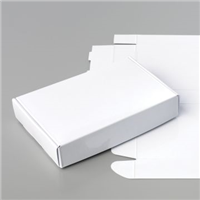
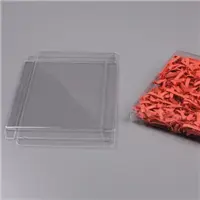
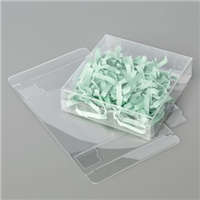
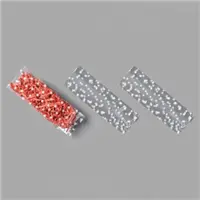
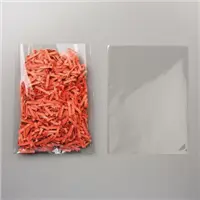
![]() I’m offering an ordering special for Stampin’ Up! orders of $50 or greater placed through me between now and Tuesday, 26 October! You get to choose a free pack of Stampin Up! Envelopes, Note Cards & Envelopes, Acetate Card Boxes, Memories & More goodies, Treat Bags or Treat boxes with your order of $50 or more this week!
I’m offering an ordering special for Stampin’ Up! orders of $50 or greater placed through me between now and Tuesday, 26 October! You get to choose a free pack of Stampin Up! Envelopes, Note Cards & Envelopes, Acetate Card Boxes, Memories & More goodies, Treat Bags or Treat boxes with your order of $50 or more this week!
Here’s the deets:
- For any order of $50 or greater (before shipping and taxes) placed through me, you’ll get to select a pack of Stampin Up! Envelopes, Note Cards & Envelopes, Acetate Card Boxes, Memories & More goodies, Treat Bags or Treat boxes of your choice from me – for free!
- This is IN ADDITION to your normal $10 thank you gift that you get to select when you add my Host Code (for orders under $150 – If your order is over $150, please don’t use this code…but you’ll still get the free gift!).
- You’ll also earn Peppermint Rewards points AND you’ll get my October Card Class Tutorials (featuring the gorgeous Sparkle of the Season bundle!).
How do you get your free Envelopes, Note Cards & Envelopes, Card Boxes or Treat Packaging?
All you’ve got to do is place your $50 or greater order and then email me your selection! I’ll order everyone’s goodies when I place my Host Order on 1 November and then send them out (along with your thank you gift) to you just as quick as I can!
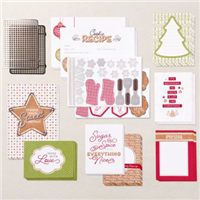
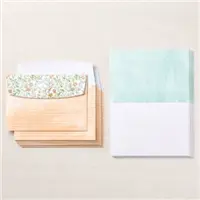
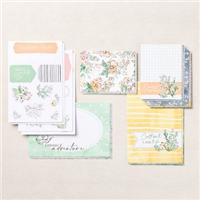
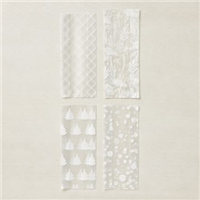
For quick reference, here are the all the goodies you can choose from:


Whoo-hoo!!
Deliveries will be slow – postage will be higher, but…maybe this little special deal-y-o will help to offset that a little? 🙂
Be sure to order by 26 October and get all your holiday card and gift making supplies. And TOMORROW you can ALSO get 15%off on those Cling stamp sets in the Annual Catalog. And you’ll build up your stash of gifting/mailing basics all at the same time! Winner winner chicken dinner!
Get the Stampin’ Up! Products Used in this Project:


Price: $5.00


Card Cuts Used in This Project:
Evening Evergreen Cardstock: 5 1/2″ x 8 1/2″ (card base, scored and folded at 4 1/4″ and then as shown in the template above); Eden Dies die cut leaves (need 2)
Soft Succulent Cardstock: Eden Dies die cut “banner”
Gold & Rose Gold 6 x 6″ Specialty Metallic Paper (in gold): 2 1/2″ scalloped Layering Circles Die cut (mat behind sentiment); Eden Dies die cut frame – trimmed into 4 sprigs
Basic White Cardstock: 2 3/8″ smooth-sided Layering Circles Die cut (sentiment); 4″ x 5 1/4″ (cut as in template for inner liner)
Ever Eden Specialty DSP: 4″ x 5 1/4″ (cut as shown in template for card front and inner liner triangles); 3″ x 6″ (envelope flap)
If you need any stamping supplies, I’d be very happy to be your Demonstrator. Just click on the Order Stampin’ Up! Online Now button on the right side of the screen to go directly to my online store or drop me an email if you have any questions. Happy Stamping!
Shop the Clearance Rack here. Earn FREE Stampin’ Up! Products – Join my Punkin Head Peppermint Rewards – My online customer thank you program!
Finn Fan Fix

Just a dog.
Sleeping like a big, fuzz-floofing shrimp.

TTFN
M


 #20 Demonstrator in Sales in the US 2023-2024
 #13 Demonstrator in Leadership in the US 2023-2024
 #21 Demonstrator in Team Building in the US 2023-2024


 KarensCardCorner
 Stamp with Amy K
 Stampin With Shirley G
 Tarabeth Stamps
 TL's Bright Spot
Such a pretty card! Love that paper, perfect for the fancy fold design! 🙂 Finn does look all little when he sleeps…head on the doorsill to make sure that he doesn’t miss a thing. 😉
Thanks, Amy – always on duty. That’s Finn! 🙂
I hadn’t been inspired to try that fold until now! This is gorgeous! Thanks for the pictures of the folds and cuts—that helps greatly! TFS (I really love the PDFs with the tutorials!)
But, a CUTE fuzz-floofing shrimp!!
Glad that the PDFs are helping – thanks for letting me know that, Susan. Hope you WILL try this fold – it’s really cool! Thanks so much! 🙂 and yes. He’s a pretty cute floofer!! 🙂
Lovely with that DSP! Sorry I missed you but I’ll watch the replay just so I can see what an engineer in non-action looks like! Have a blessed weekend and I believe I’ll be seeing you tonight.
That is EXACTLY what you’ll see! You’d have thunk I’d never done a fraction in my life! 🤦♀️🤦♀️🤦♀️ Thanks, Karen! 🙂
A really beautiful card and a very interesting fold. Thanks for sharing with us at Watercooler Wednesday Challenge.
I love this fold, for sure! Thank you, Dawn – appreciate you stopping by! 🙂