Our friend and Stampin’ Up Demonstrator Senior Manager Awesome Goddess of Cards, stamping, journaling, art…well, you get the picture! is moving to the frozen country north of our border. She and her husband are moving back to Canada for his business and to be closer to family. Fortunately, she’s going to be able to keep all of her USA stamping family – but she’s also going to have a Canadian group – so she’s going to be one busy lady! To wish her luck, a bunch of us in her downline surprised her with Stampin’ Up! cards – all timed to arrive in the last week or so before their big exodus.
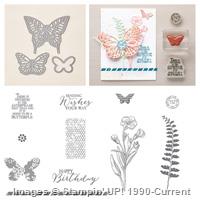
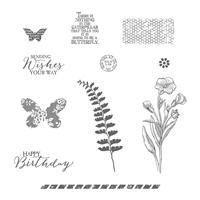
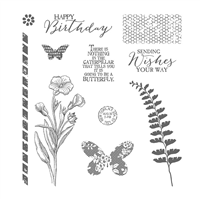
My card used the Butterfly Basics Stamp set, as well as a sentiment from the Holiday Home set. The overall design was inspired by the Freshly Made Sketches #171:

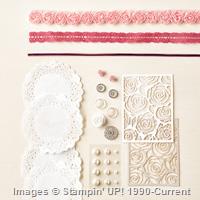
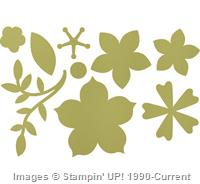
I’d been waiting for just the right design to dive into my Artisan Embellishment Kit (Occasions catalog) and this was perfect. I also used Painted Blooms and Irresistibly Your DSP. And some Blendabilities and some Textured Embossing Folders and ….well, take a look-see for yourself:

I like pinks and greens together – I just think they look very spring-y. Not boing-y springy, but….oh, you know. Springy spring-y! Got it? Good.
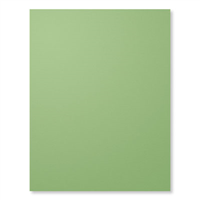
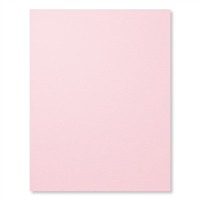
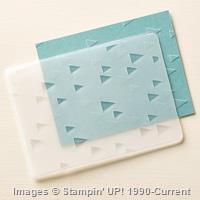
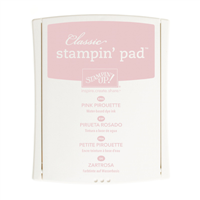
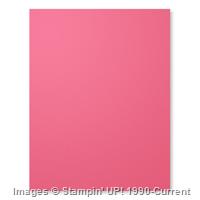
I started the card front with Pink Pirouette Card Stock, that I ran through my Big Shot in the On Point TIEF. So, here’s a little lesson in patience (of which I showed none in this instance!). I had, just a few days before, ordered the Spring Flowers TIEF. If I’d waited for it to arrive, then that’s the one I thought I’d have preferred to use on this card. But – I didn’t wait! So, I used the On Point. And, in truth, I think it was probably the better choice – cause, as I think about it, I kind of think the Spring Flowers would have been too busy for the card – so perhaps it was a blessing! 😉 I attached it to a Wild Wasabi card base with SNAIL.
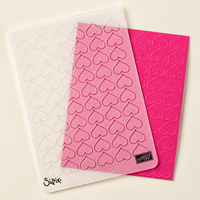
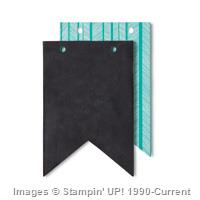
I cut three strips in ever-increasing lengths and cut the banner ends with the hexagon punch. The longest banner is from the Irresistibly Yours DSP (Sale-A-Bration), that I colored with my lightest Pink Pirouette Blendability. It’s matted with Wild Wasabi CS. The middle banner is a piece of Wild Wasabi CS that I embossed with the Happy Hearts TIEF, and matted on Pink Pirouette CS. The final, and shortest banner, is some of the Painted Blooms DSP, matted on Wild Wasabi. All three banners are SNAIL’d to the card front.

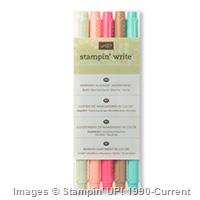
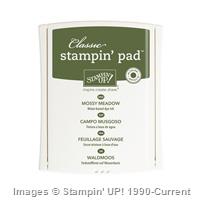
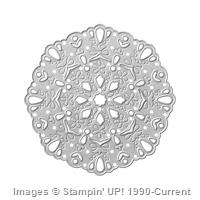
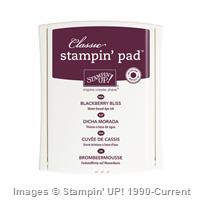
I built the sentiment circle using the circle framelits to cut a Whisper White circle (2 3/8″ diameter) and a Pink Pirouette (2 3/4″) circle. I SNAIL’d them all onto one of the pretty doilies from the Artisan Embellishments Kit (Occasions). The sentiment comes from the Butterfly Basics Stamp Set, and I stamped it in Mossy Meadow Classic Ink. I also edged that white circle with some Pink Pirouette Blendability Marker and then with the Mossy Meadow. The Pink circle, I “stitched” using the Pistachio Pudding Stampin’ Write Marker. Then, I attached the layered circle to the card front. The left side is SNAIL and the right side is little bits of Stampin’ Dimensionals, placed on the most-solid parts of the doily. The Dimensionals compensated for the added thickness of the banners under the left side of the circle.

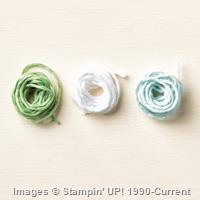
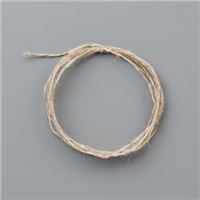
I made a little bow with the green Painted Blooms Thick Twine (have I mentioned how much I love twine – especially when it comes to making bows?!?!) and glued it to the front with a little dab of Multipurpose Liquid Glue. Three Pearl Basic Jewels finished it off.
The inside of the card was treated to a Whisper White liner, with some more of the Pink Pirouette and Wild Wasabi across the bottom. I ran the Wild Wasabi through the Big Shot in the Happy Heart TIEF and SNAIL’d it to the Pink Pirouette mat (which I also stitched with Pistachi Puddding). Repeating elements from the front of the card – whether it’s colors or textures or patterns or some combination thereof – ties the entire card together, and helps it to be “finished”. IMHO, of course!

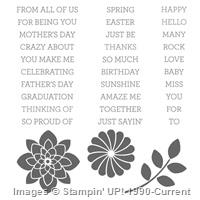
The sentiment comes from the Holiday Home stamp set, and is stamped in Mossy Meadow Ink, that I stamped off once on scrap paper before stamping it on the card. So – I used a “happy new home” sentiment, cause this card was headed to Sandi to celebrate her…well, new home. But, if you wanted to make this card for almost any other kind of occasion – sympathy, just-because, feel better, whatever – you could easily use a different inside sentiment – or even just leave it blank. “Sending Wishes Your Way” is a pretty versatile sentiment – and just another reason that having the Butterfly Basics set in your stamping arsenal is a really good plan! 🙂
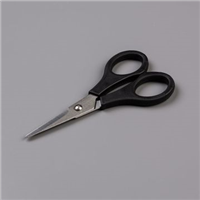
I wanted the envelope to be a little special, too, so I SNAIL’d some more Painted Blooms DSP onto the inside of the flap, and then trimmed the excess with my snips. I really think it completed the whole ensemble.

So – what think you? I hope that you like it – I enjoyed making it for Sandi to wish her the best on her next adventure!
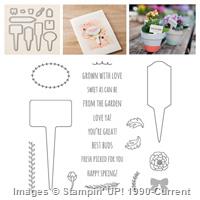
Tuesday heralds the arrival of new Weekly Deal specials – take a look and see if there’s a special something (or somthingS!) that you’ve been waiting for a good deal on! There’s even a deal on one of the brand new Occasions bundles (From the Garden)!
Stampin’ Up! just announced a brand new stamp set, called Lovely Amazing You. And it’s really cool! Some super sentiments and a cute “envelope” stamp. And – it’s in Photopolymer – my fave! Click here to see the set and a couple of ideas for using it! And check it out in the store when you decide you NEED to have it in your stash…..
And – here’s a teensy sneaky-peek…..26 Feb is the date for the next Happy Stampers Blog Hop. Be sure to check back for more details, and mark your calendars. We’ll all be sharing some new cards or….? and will share a little blog candy, too!
TTFN
Mary
FEBRUARY 1 – 28 HOSTESS CODE: RKBPBNYM Use this hostess code when you order and receive a free gift from me! But, if your order is over $150, please do not use this code (you’ll miss out on your own Stampin’ Rewards/Hostess $$ if you use it) but you’ll still get the free gift. The free gift for February is your choice of any item valued up to $4.95 in either the 2014-15 Annual Catalog or the 2015 Occasions Catalog!
Here are the card cuts for today’s project:
Wild Wasabi Card Stock: 5 1/2″ x 8 12/” folded at 4 1/4″ (card base); 7/8″ x 5 1/4″ (largest banner mat)); 3/4″ x 4 12/” (middle banner, embossed with Happy Hearts); 7/8″ x 4″ (smallest Banner); 5/8″ x 4″ (inner liner embellishment, embossed with Happy Hearts)
Pink Pirouette Card Stock: 4 1/8″ x 5 3/8″ (card front embossed with On Point TIEF); 7/8″ x 4 5/8″ (middle banner mat); 5/8″ x 4″ (inner liner embellishment mat); 2 3/8″ circle (sentiment mat)
Whisper White CS: 2 3/8″ circle (sentiment)
Irrestistibly Yours DSP: 1/2″ x 5 1/8″ (longest banner)
Painted Blooms DSP: 3/4″ x 3 7/8″ (shortest banner); 4″ x 5 1/8″ (inner liner); inner flap of envelope
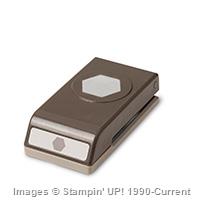
STAMPIN’ UP! ITEMS USED IN THIS PROJECT:


Built for Free Using: My Stampin Blog
WEEKLY DEALS 10 Feb – 16 Feb 15 Click here to see the Weekly Deals from Stampin’ Up! in my online store. The Weekly Deals are only while supplies last and only available at these great prices through 16 Feb.

Built for Free Using: My Stampin Blog
![]()
It’s Sale-A-Bration Time!! Earn a free item for every $50 that you purchase. Click here to read all about it.
Shop the Clearance Rack here.
Earn FREE Stampin’ Up! Products – Join my Punkin Head Peppermint Rewards – My online customer thank you program!


 #20 Demonstrator in Sales in the US 2023-2024
 #13 Demonstrator in Leadership in the US 2023-2024
 #21 Demonstrator in Team Building in the US 2023-2024


 KarensCardCorner
 Stamp with Amy K
 Stampin With Shirley G
 Tarabeth Stamps
 TL's Bright Spot