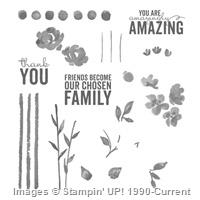
For today’s card I used the 2015 Occasions catalog Crazy About You stamp set, which I have in the photopolymer version, along with the complementary Hello You Thinlits Dies. Stampin’ Up! very kindly bundles them up for us, and let’s us save some money! I used the Freshly Made Sketches Sketch #170 as my inspiration.

I like note cards like this – ones that can be sent or given for almost any reason. Maybe just because it’s a beautiful, crisp day in January, the days are getting longer and there’s the promise that maybe a person could go outside without putting on a thousand layers of clothes! Or not – heck, it’s still only in the 50’s here. For me (and my poor hubs, who puts his insulated covers on when it’s any cooler than 45!) it’s still chilly. My mom would just smile and look at the thermometer on her deck, where it’s likely reading 20 or so today. But, I digress. As I was saying, these are good kinds of cards to have in your card stash – to send whenever the mood strikes! Make this one today!

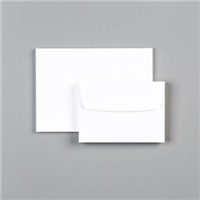
This one took me a minute – I started with a note card from the Stampin’ Up Note Cards and Envelopes set in Whisper White. This is a great deal – you get 20 cards and 20 envelopes for under $6! And they’re nicely weighted cardstock, making for a classy feel for your masterpiece. But, they’re a little smaller than the cards I’ve been making, so my card cuts were different. And the sketch I started with asked for some unusual proportions – for me. As it turns out, I’m not sure I actually GOT the proportions “right” – but, hey! if I hadn’t mentioned it, no one would know the difference, right?!? So, this card challenged my math skills and, total disclosure, I now have several pieces of white and Pink Pirouette CS that will be ready to use on another project – if you catch my drift! But, I’ve worked the numbers out and all the cuts are down below, so this one will be easy-peasy for you to CASE.
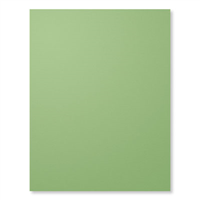
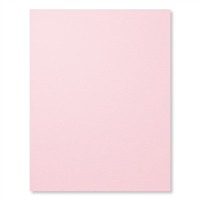
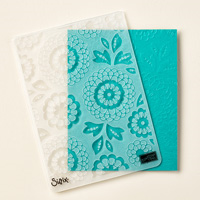
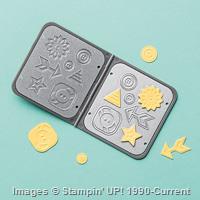
I Cut my two Whisper White CS pieces, and embossed the larger of them with the Lovely Lace Textured Impressions Embossing Folder. The bottom piece I left plain – I went back and forth, but finally decided to go with a simpler look. I layered those pieces on the Pink Pirouette mats and then SNAIL’d them both to a piece of Wild Wasabi CS to create the front of the card. Play around with the placement of the pieces, until it makes you happy. Then – stick it down!

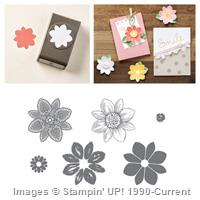
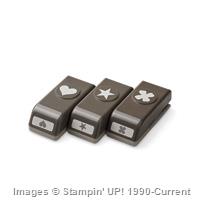
Then, I stamped one of the flowers from the Petal Potpourri stamp set in Crushed Curry on a piece of white CS and punched it out with the Flower Medallion Punch. Yes – I got these as a bundle, as well. Do you see a purchasing trend for me? It helps me to say “But, Wayne – I saved quite a bit of money by buying them together. You DO understand the idea of SPENDING money to SAVE money, right?!?” He buys that about….never….but, oh well! Stampin’ Up! gives us a 15% discount when we take advantage of the bundled sets – so, it’s a good deal. That’s my story and I’m stickin’ to it. But wait, I’m not done with my incredible money-saving prowess yet. Read on!
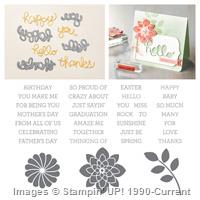
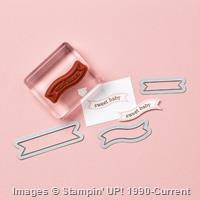
I pulled out a piece of scrap white CS and stamped it with Mossy Meadow ink, using my Crazy About You photopolymer stamp set. If you haven’t seen it, it’s in the 2015 Occasions catalog and has a HUGE number of sentiments included – and, if you pair it with the… say-it-with-me… bundled Hello You Thinlits dies…well, the possibilities are almost endless! I punched the banner end with my Hexagon Punch and then edged the banner with some Old Olive ink. The sponge daubers work great for edging.
I made the “You” by running the Hello You Thinlit through my Big Shot three times – twice with black CS and once with Pink Pirouette CS, and then I layered the three pieces with liquid glue. Black – Pink – Black.
A couple of words about these thinlits. These are small cuts, one might even use the word “persnickety”. That’s not a bad thing – just a thing, as long as you catch a few tips. On these, wax paper is your best friend! Stick a piece of it between the die and the cardstock before you run it through the Big Shot. That makes the cut push right out of the die – use your craft pick or a similar pointy thing to push it out using the conveniently placed holes in the die.

For adhering it, I originally thought I could use some SNAIL, but – not so much. I tore the thin little pieces. Liquid glue worked much better – I just used my silicone craft mat under the die cut, to keep the glue off my work surface. I was also pretty stingy with it, so it wouldn’t seep out everywhere.
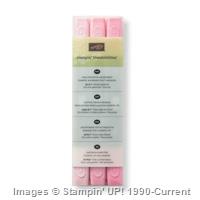
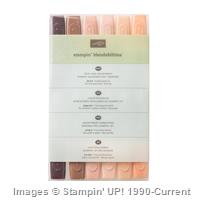
With everything inked and cut and punched and glued and layered, all that remained was to put all the pieces together. I used SNAIL for the sentiment banner and the flower – and more glue for the “You”. I colored some Rhinestones with my darkest Pink Pirouette Blendability pen and stuck them on. Okay – some more disclosure. I started with 3 jewels. Then I decided that the flower needed one in the center. That brought me up to 4 jewels. I’m not sure who decided it, but there’s the old adage that you should decorate in odd numbers, and even with new math, 4 is not an odd number. I don’t want to say I’m a mindless follower of old adages, but….it looked weird. So, I added some more until I had an odd number and liked how it looked. Might be a bit sparkly for your taste, so you could just put one in the center of the flower and two more on the bottom panel. If that made you happy. Or you can be like me and go bling-crazy. It’s your creation, so it’s all about making you happy!

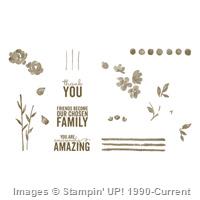
I didn’t need to put a inner inside the card, since it’s already white and ready to have a note added, but I wanted it to have a little pizzazz, so I inked up a few of the petals in the Painted Petals stamp set (2015 Occasions Catalog) with some Strawberry Slush ink and stamped it twice, without re-inking, across the bottom. And then I repeated that. I used a little more Old Olive to add a few stems from the same set. Done!

With the card cuts already figured out, this is a really easy card to put together. And the design lends itself well to a multitude of sentiment possibilities, many of which are in the Crazy About You stamp set. You really need to make yourself a set of “just-because-the-sun-was-out-and-I-thought-of-you-today” cards right now! Go! Start inking! 😉
The January Hostess Code is still open, so get your orders in quick-like-a-bunny! Don’t forget that you’ll also get a free gift from me and you may qualify for Punkin Head Peppermints!
TTFN
Mary
Here are the card cuts for today’s project, starting with a Note Card from the Stampin’ Up! Set:
Wild Wasabi Card Stock: 4 7/8″ x 3 1/2″
Whisper White Card Stock: 2 5/8″ x 3 1/4″ and 1 3/4″ x 3 1/4″ (this one is embossed); Sentiment banner 1/2″ x 1 1/2″
Pink Pirouette Cardstock: 2 3/4″ x 3 3/8″ and 1 7/8″ x 3 3/8″
JANUARY 1 – 31 HOSTESS CODE: RMQE9AEQ Use this hostess code when you order and receive a free gift from me! But, if your order is over $150, please do not use this code (you’ll miss out on your own Stampin’ Rewards/Hostess $$ if you use it) but you’ll still get the free gift. The free gift for January is your choice of any item valued up to $4.95 in either the 2014-15 Annual Catalog or the 2015 Occasions Catalog!
STAMPIN’ UP! ITEMS USED IN THIS PROJECT


Built for Free Using: My Stampin Blog

Built for Free Using: My Stampin Blog
Visit my online store here
Shop the Clearance Rack here.
Earn FREE Stampin’ Up! Products – Join my Punkin Head Peppermint Rewards – My online customer thank you program!


 #20 Demonstrator in Sales in the US 2023-2024
 #13 Demonstrator in Leadership in the US 2023-2024
 #21 Demonstrator in Team Building in the US 2023-2024


 KarensCardCorner
 Stamp with Amy K
 Stampin With Shirley G
 Tarabeth Stamps
 TL's Bright Spot