Since I have a few friends who are fixin’ to grow their families in the next couple of months, I decided I need to get on the stick and have some baby cards ready to go when “The Announcement” is made. For the record, I DO actually have more than a few friends (and they’re actually people I’ve met face-to-face – not just ones I have on Facebook!), but only a few are, well….you-know….preggers. So, I built a few cards – some are gender-neutral, others not-so-much. For this one, I used this week’s Freshly Made Sketches #169 to kick-start my creative juices. I just love all these sites that help me start to get an idea of what a card will look like. Once again – I didn’t stray too awfully far from the sketch – I’ll get more wild as I go along!

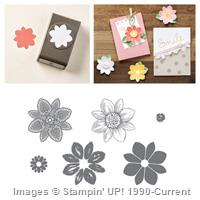
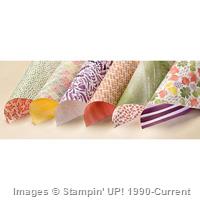
I also wanted to dive into my new stash of Stampin’ Up Occasions Catalog items – and the Painted Blooms DSP pack was calling my name. If you haven’t seen all the gorgeous paper that’s in that stack, you need to. I think I’ll need to buy another one…. I also got the Petal Potpourri bundle – which included the new coordinating Flower Medallion Punch AND saved me 15%! Love.
Let me tell you what – with all the great stamps and punches and TIEFs and inks and Blendabilities that I got with my first GINORMOUS demonstrator order, it wasn’t easy to decide where to start. You know – too many options – too many fun and pretty things that I wanted to play with all at once. Thank goodness for the sketch – at least I had a clue to start with! And, here’s where the clue-bird landed.

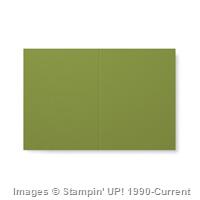
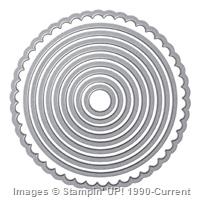
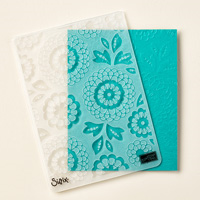
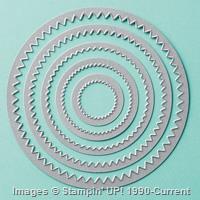
I let the green foliage of the Painted Petal DSP lead my color choices. An Old Olive Cut and Ready Card Base started me out. I ran the DSP thru my Big Shot with the Lovely Lace Textured Impressions Embossing Folder (aka TIEF) and then cut my circle using a Framelits circle die at 3 1/4″ diameter. And then, I saw my slight error. DSP is not cardstock. Uhm – hello? By the time I’d embossed the paper and then cut a giant hole in it – it was a bit flimsy around the edges. So, I stuck in onto a piece of white cardstock that I cut just the tiniest bit bigger than the DSP – making a nice mat and, frankly, looking like I planned it that way all along! 😉 But, don’t be like me – you should stick the DSP to the cardstock BEFORE you cut the circle out!
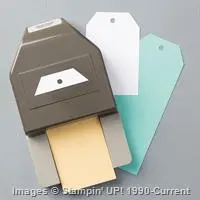
And – just a little note about Framelits. I’ve used Framelits for a while now, but only recently bit the bullet and got a Magnetic Platform. Oh. My. Goodness!! A dear friend of mine is wont to say: “use the proper tool for the proper job.” No truer words were ever spoken. The Magnetic Platform let me perfectly place the Framelit and held it in that spot while I maneuvered the cutting plates and ran it through the Big Shot. Amazing! If you have a Big Shot and you like to use Framelits – and who doesn’t? – then I highly recommend this addition to your tool chest!
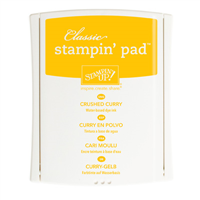
Any-whooo, with the mat ready to go, I stamped and punched out several of the Petal Potpourri flowers. I used Old Olive, Mossy Meadow and Crushed Curry ink. And then, because I could, I did one in Night of Navy. I did several different stamps within the set, but in the end decided I liked the more cohesive look I got with just one flower version. The card has plenty going on anyway! You can see I went crazy and stuck that Night of Navy version on the very top.
I SNAIL’d two of the flowers to the card base, then SNAIL’d the mat on top of those. One yellow flower got attached with dimensionals and the blue one is flat on the mat with SNAIL. I knew I was going to be adding the button, and wanted to keep the height profile down at least a little bit. Easier to mail, and all that.
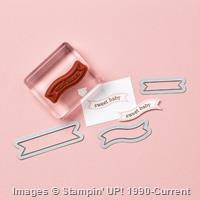
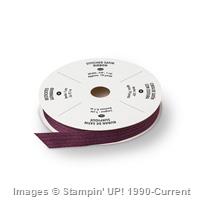
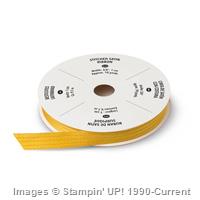
An Itty Bitty Banner sentiment in Crushed Curry (stamped and then cut with the coordinating Framelit), and a Linen Thread bow in a generic wooden button, attached with Liquid Glue, finished off the front of the card. You know, right up until I picked the Sweet Baby sentiment from the Itty Bitty Banners, this card could have been used for any occasion. All from that same stamp set – since it includes “For You”, “Congratulations”, “Love You”, and “Thank You” in addition to “Sweet Baby”. Handy, huh? And – that’s another one that Stampin’ Up! bundles together to save you money!

For the inside, I went with a white CS liner, and a couple of strips of leftover DSP to finish things off. The final touch was a sentiment from the Petite Pairs stamp set.

Pretty easy card to build and I like the versatility it offers. I hope that you’ll take a gander at the Painted Blooms DSP and maybe use this card to fuel your creativity!
More Baby cards to come, but for now….
TTFN
Mary
Here are the card cuts:
Old Olive Cut and Ready Card Base
Painted Blooms DSP: Front Mat 4″ x 5 1/4″; inside embellishment strips 3/4″ x 4″ and 1/2″ x 4″
White Cardstock: Mat 4 1/8″ x 5 3/8″; Inside Liner 4″ x 5 1/4″
JANUARY 1 – 31 HOSTESS CODE: RMQE9AEQ Use this hostess code when you order and receive a free gift from me! But, if your order is over $150, please do not use this code (you’ll miss out on your own Stampin’ Rewards/Hostess $$ if you use it) but you’ll still get the free gift. The free gift for January is your choice of any item valued up to $4.95 in either the 2014-15 Annual Catalog or the 2015 Occasions Catalog!
STAMPIN’ UP! ITEMS USED IN THIS PROJECT


WEEKLY DEALS 13 – 19 JAN 15 Click here to see the Weekly Deals from Stampin’ Up! in my online store. The Weekly Deals are only while supplies last and only available at these great prices through January 19.
Built for Free Using: My Stampin Blog
Visit my online store here
Shop the Clearance Rack here.
Earn FREE Stampin’ Up! Products – Join my Punkin Head Peppermint Rewards – My online customer thank you program!


 #20 Demonstrator in Sales in the US 2023-2024
 #13 Demonstrator in Leadership in the US 2023-2024
 #21 Demonstrator in Team Building in the US 2023-2024


 KarensCardCorner
 Stamp with Amy K
 Stampin With Shirley G
 Tarabeth Stamps
 TL's Bright Spot