
Good morning and happy Fri-YAY! You made it and it’s ALMOST the weekend. Hope you’ve got something fun planned – and nice Fall weather to do it!
Today’s card harkens back to an oldie-but-goodie – the Moonlit Flora DSP and coordinating Fern & Flora bundle and 3D Embossing Folder. I used it all to make a super simple – and very fun! – faux side step fun fold card. Take a look-see:

I played along with the Sunday Stamps color challenge for this one.

I started with a 5 1/2″ x 8″ piece of Peaceful Pine cardstock that, using my Paper Trimmer, I scored along the long side at 3″, 6″ and 7″. I folded the scored lines as a mountain (3″), valley (6″) and mountain (7″). This is the main card base.

I used Liquid Glue to adhere a 2 3/4″ x 5 1/4″ piece of Moonlit Flora DSP on a 2 7/8″ x 5 3/8″ Golden Glow mat and then to the front of the main card base.
I matted a 3/4″ x 5 1/4″ piece of Moonlit Flora DSP on a 7/8″ x 5 3/8″ piece of Golden Glow cardstock and adhered it to the narrow panel on the front of the card base.
Then I scored a 3″ x 6″ piece of Peaceful Pine cardstock at 4 1/4″ – and folded it as a mountain. That’s the side-step panel.

I embossed 2 3/4″ x 4″ piece of Basic White cardstock in the Fern & Flora 3D Embossing Folder, matted it on Golden Glow cardstock and adhered it to the larger portion of the side-step panel with Liquid Glue.

Using the dies in the Fern & Flora die set, I cut two leaves from 2026-2028 In Color Pearlized Paper – one in Peaceful Pine and one in Golden Glow. I also cut a Berry Burst cardstock fiddlehead fern (the little curly one!).
Using Liquid Glue, I adhered the three leaves to the embossed panel – being sure they didn’t extend over the top of the panel.

I tied a double-loop Linen Thread bow and adhered it with Liquid Glue.
On a piece of Basic White cardstock, I stamped a Fern & Flora sentiment in Berry Burst ink. Then I stamped the frame image in Golden Glow and cut it out with the coordinating die in the set.

Using double-stacked Stampin’ Dimensionals – I adhered the sentiment to the panel. Then I added three Secret Sea Dewdrops Embellishments!
I used Liquid Glue on the bottom 1″ of the side-step panel and adhered it to the narrow bottom strip – aligning the bottoms.

Then I closed the card base and used more Liquid Glue to adhere the smaller portion of the panel to the back of the main card base – thus creating the side-step panel.

On a 2 3/4″ x 5 1/4″ piece of Basic White cardstock, I stamped a second Fern & Flora sentiment in Berry Burst ink. In the corner, I stamped the large fern image three times in Peaceful Pine ink – without re-inking between stamps.

I used Liquid Glue to adhere the panel to a Golden Glow mat and then to the back of the card base – see how it covers the seam of the side-step panel? And – the card was done!
My Basic White Medium Envelope got the Fern & Flora fern on the front…

…and more of the pretty Moonlit Flora DSP on the envelope flap.

Et Voila! I love these faux side-step cards – they’re so easy! And, they give LOTS of real estate for showing off beautiful paper like the Moonlit Flora DSP – which remains one of my favorite papers ever! The pretty foliage – stamped and/or die cut! – from the coordinating Fern & Flora bundle is just the best – and I really really like the sentiments that are in this one! The Fern & Flora 3D Embossing Folder is…stunning. All in all – there’s nothing to NOT like in this suite of products!

If you’d like to recreate this card, all the products and card cuts you’ll need are down below! And – this it the card I made on yesterday’s Thursday After Lunch Bunch YouTube Live video. If you’d like to see it – for the first time or again – here ’tis!
I’ve also created a printable PDF with written instructions and a list of the products used to create this project. You can download, print and/or save it by clicking this image:

Missed any tutorials? You can check out my past projects right here!
TTFN
M

Connect with me! https://campsite.bio/stampsnlingers
CUSTOMER REWARDS
Earn 10% of your retail amount on all orders of $20 or greater! And you’ll be earning Punkin’ Head Peppermints – one peppermint for each $25 you spend thru my Online Store! When you gather up 16 Peppermint Points – you’ll be able to select a $40 gift right from me!
You’ll also be getting a link to my ZOOM The Craftroom (an exclusive TWICE-A-WEEK online event for my customers) and the monthly Online Tutorial – featuring the Noel Tidings Bundle for October orders.
See my Customer Rewards page for full details.


STAMP-N-STORAGE FAVORITES SALE!
Starting today and running thru the 19th – Stamp-N-Storage is having a 15% off sale! We all have our favorite Stamp-n-Storage products, so SNS thought it would be fun to have twelve of their team members share their favorite storage solutions and why they love them.
If you click the banner above you’ll get to see their faves – and then pick them or your own faves – and get to organizing!
Here are the sale details:
- Dates: October 16–19, 2026
- Promotion: 15% OFF Storewide (our favorites AND customer favorites)
- Free Shipping: Orders $150+ in the 48 Domestic U.S. (Excludes BCO Craft Furniture)
SHOP THE FAVES SALE NOW


If you’d like to get a closer look at my craftroom – and the Stamp-N-Storage products that are my faves – check this link right here!
Happy Craft room Organizing!

SUPER JOINING SPECIAL THRU THE END OF OCTOBER!

When you join Stampin’ Up! – anytime! – you’ll pay $100 plus tax to get signed up! Then – Stampin’ UP will send you a coupon code for $125 – use that against…whatever you want to purchase! There’s no limit and whatever is over and above the $125 will count towards your sales…AND you’ll get your discount on that amount! BOOM!
BUT! When you join during this special offer (6 – 31 Oct) – you will ALSO get an EXTRA $50 in Stampin’ Rewards deposited immediately in your Stampin’ Up! account!! You can spend THOSE anytime within the first three months after you sign-up. Whoo-hoo!
AND – if this is your first-time as a demonstrator – you’re ALSO going to receive a surprise Welcome Box right from Stampin’ UP!

And – did you know?? Stampin’ UP! Demonstrators get all those things PLUS…all the special things offered to customers!

Join for the fun – the discount – the early access to new goodies and new catalogs….or Join to get a little business going…it’s ALL up to YOU!
Let me know if you have any questions about joining or being a Stampin’ Up! demonstrator! Drop me a note at stamps-n-lingers@comcast.net, I’d love to chat with you!

Head over to my Join My Team page here to see all the benefits of being a Demonstrator! I’d love to have you on my team and help you get all that discount, and all the early goodies, and…ALL THE THINGS! 🙂
You can also see additional information on my Stampin’ Up! site here!

Click here to purchase your Starter Kit and Get Started!
Get the Stampin’ Up! Products Used in this Project:









Card Cuts Used in This Project:
Peaceful Pine Cardstock: 5 1/2″ x 8″ (card base, scored and folded at 3″, 6″ and 7″); 3″ x 6″ (side-step panel, scored and folded at 4 1/4″)
Golden Glow Cardstock: 2 7/8″ x 5 3/8″ (x2 – mats for front and back of main card base); 7/8″ x 5 3/8″ (mat for smallest front panel of main card base); 2 7/8″ x 4 1/8″ (mat for front of side-step panel)
2026-2028 In Color Pearlized Paper: Fern & Flora die cut leaves – one in Peaceful Pine and one in Golden Glow
Berry Burst Cardstock: Fern & Flora die cut fiddlehead fern
Basic White Cardstock: 2 3/4″ x 5 1/4″ (back of main card base); Fern & Flora die cut label (sentiment); 2 3/4″ x 4″ (embossed panel on front of side-step panel)
Moonlit Flora DSP: 2 3/4″ x 5 1/4″ (front of main card base); 3/4″ x 5 1/4″ (smallest front panel of main card); 2 1/4″ x 6″ (envelope flap)
If you need any stamping supplies, I’d be very happy to be your Demonstrator. Just click on the Order Stampin’ Up! Online Now button on the right side of the screen to go directly to my online store or drop me an email if you have any questions. Happy Stamping!
Shop the Last Chance List here. Earn FREE Stampin’ Up! Products – Join my Punkin Head Peppermint Rewards – My online customer thank you program!
Finn Fan Fix 
Finn – insisting that he take yet ANOTHER towel to the living room.
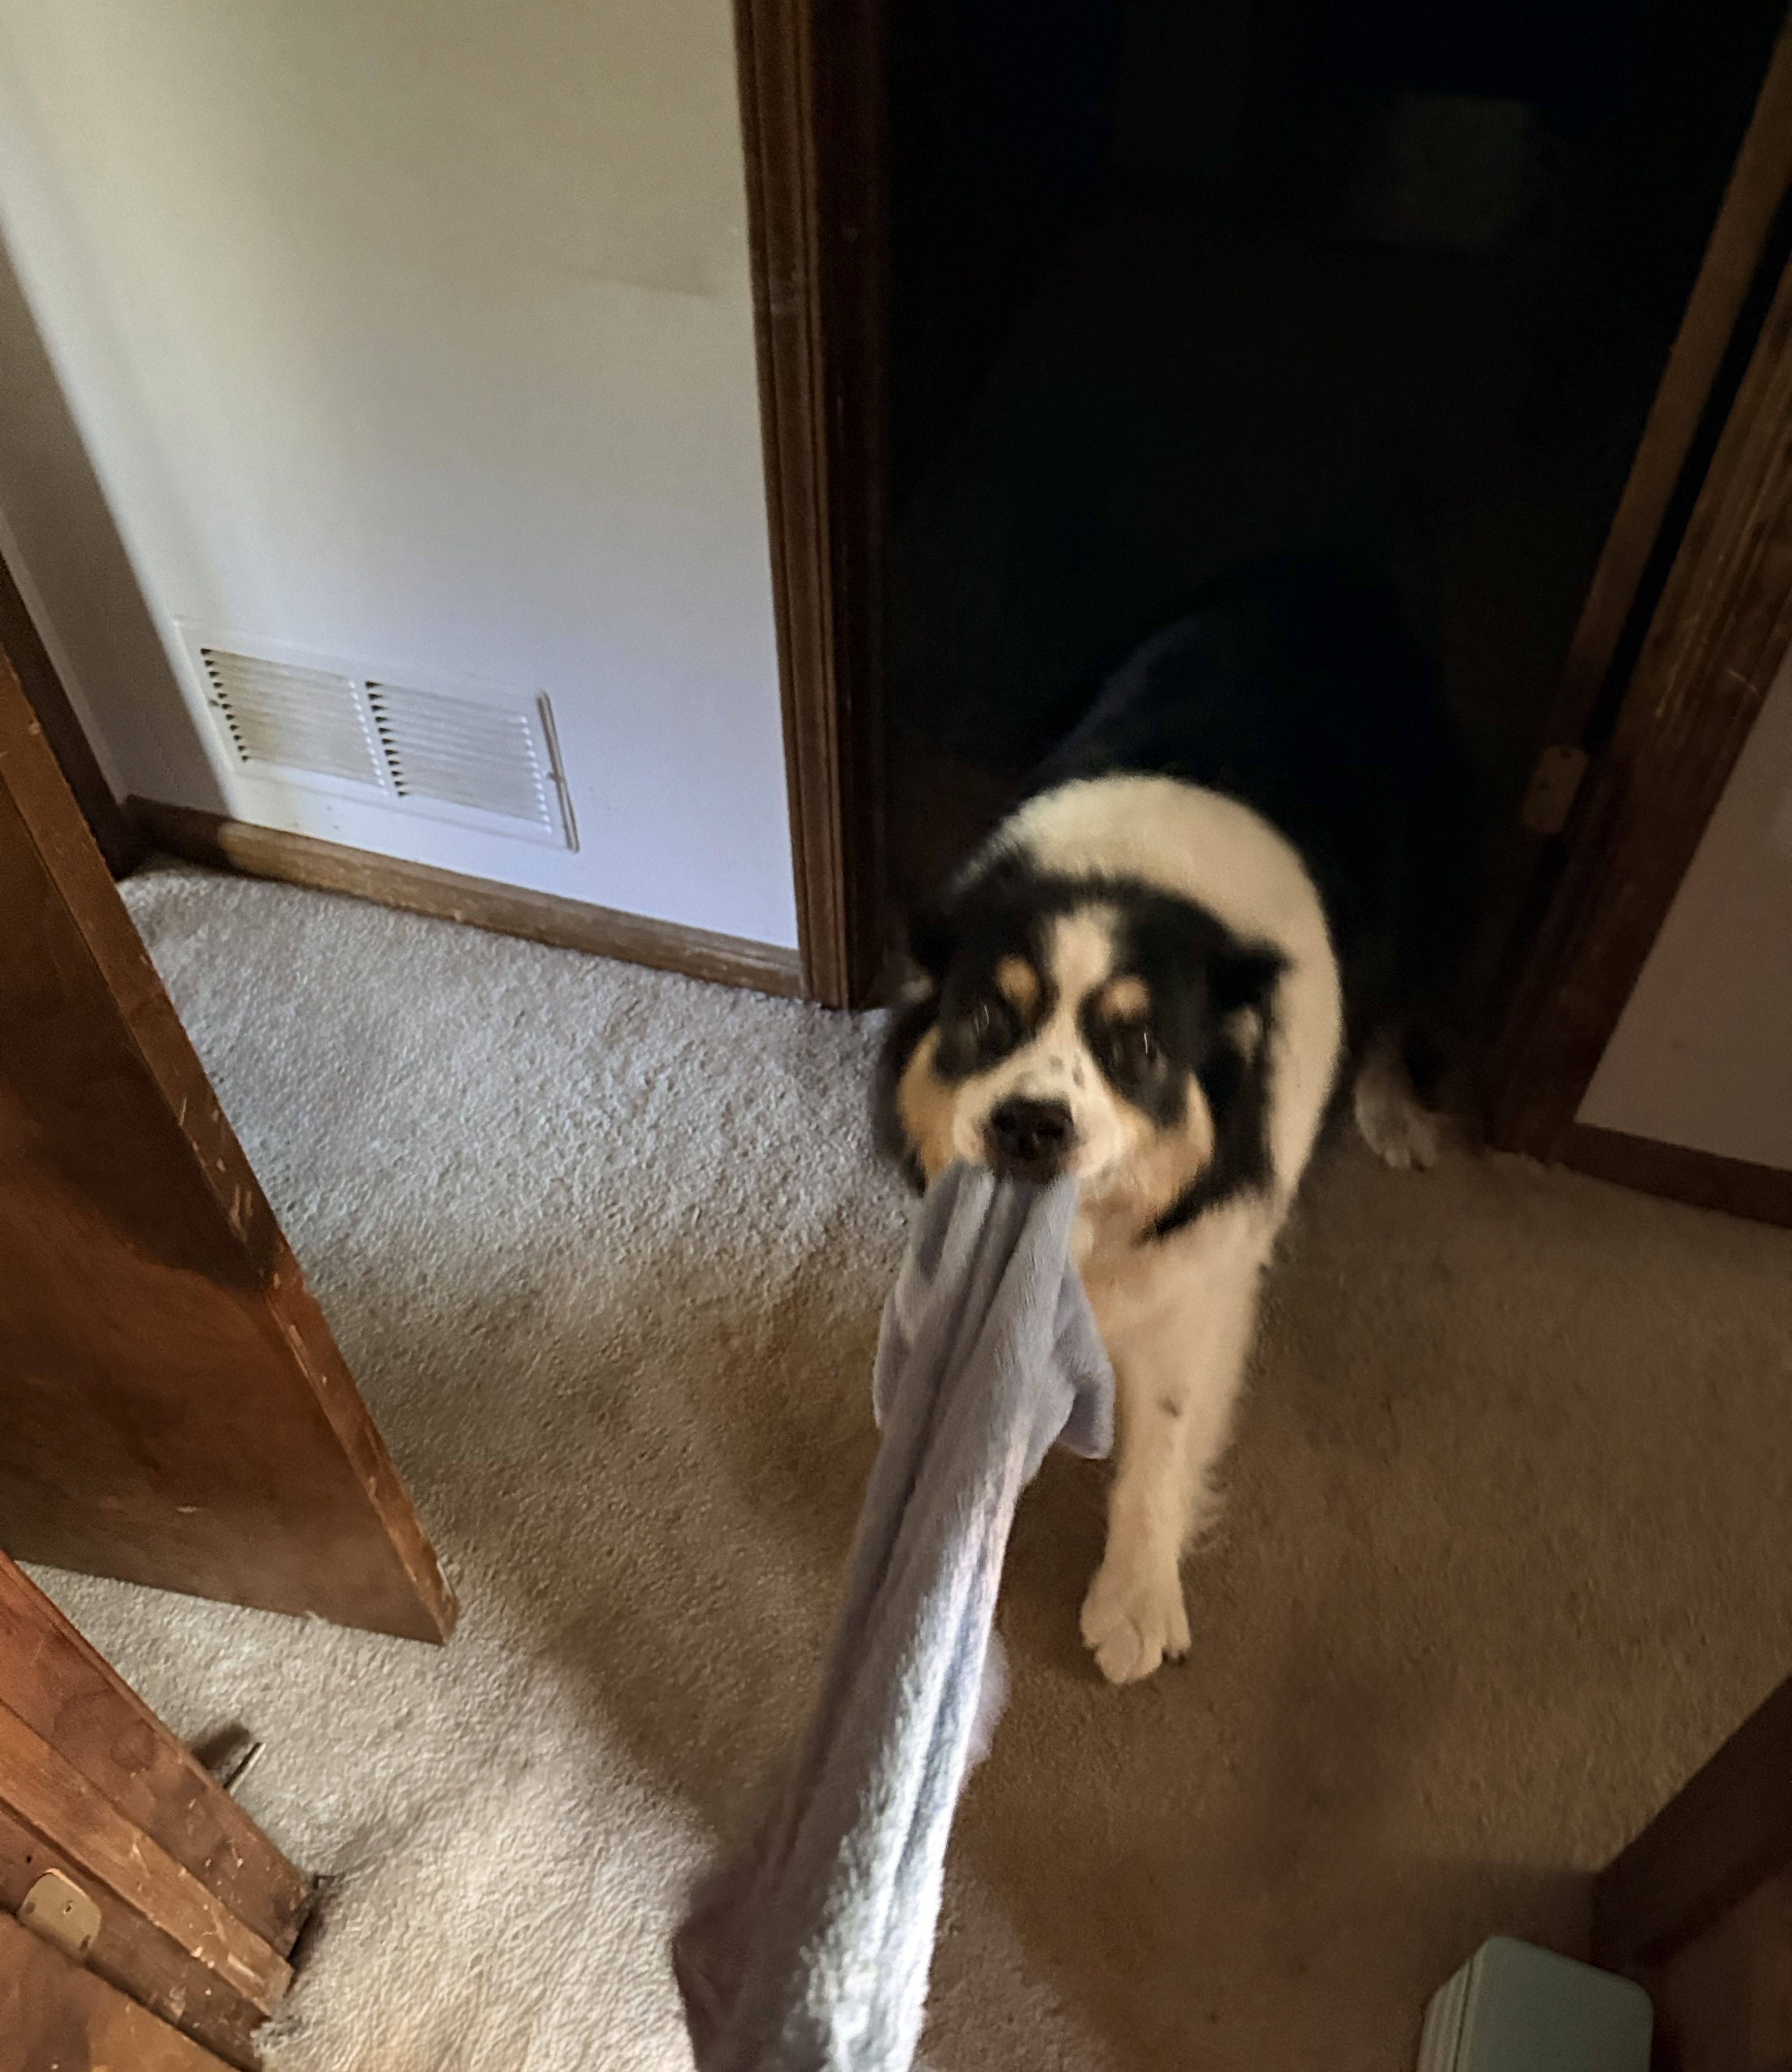
He’s really strong – and frequently wins this particular debate.
But – there’s a good reason for him to take them to the living room – apparently.

Important for the little sister to have two towels, a recliner and a bed in the living room. So she can sleep wherever feels JUST RIGHT!
TTFN
M


 #20 Demonstrator in Sales in the US 2023-2024
 #13 Demonstrator in Leadership in the US 2023-2024
 #21 Demonstrator in Team Building in the US 2023-2024


 KarensCardCorner
 Stamp with Amy K
 Stampin With Shirley G
 Tarabeth Stamps
 TL's Bright Spot