

‘Sup, y’all?? Is your weekend going well? Ours is going as expected – under a gorgeous blue, GA Fall sky! Yep – the weather is beyond perfect – one of those days that help us forget the miserable days of summer!
I’m planning to go “help” my friend Jan today. I might have told y’all that their lab had puppies last week. And Jan is trying to do a lot of puppy holding to get them people-acclimated and socialized. I have SELFLESSLY volunteered to go hold puppies to give her a hand.
I know. I am such a GIVER! 😉
So…if you were able to join me yesterday afternoon for my YouTube tutorial, I appreciate you spending part of your day with me! If not, but you’d like to see the replay – here ’tis!

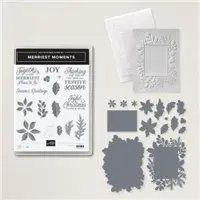
I pulled out my Merriest Moments stamp set with the gorgeous Merriest Frames Hybrid Embossing Folder (this is a 3D Embossing Folder designed to work hand in hand with the Merriest Frames Dies). The result is a clean and white card with a pop of color from a pretty Poinsettia. Take a look-see:

I was inspired by the Freshly Made Sketches challenge for this one.


And the color palette is from the CAS Colours & Sketches challenge.


I started by embossing a Basic White panel in the Merriest Frames Hybrid Embossing Folder – then I matted the panel on a piece of Night of Navy with Liquid Glue.
I matted a strip of Gold Specialty Metallic Paper on Night of Navy and adhered it to the card front with Liquid Glue.

I ran a second Basic White panel thru the Stampin’ Cut and Emboss Machine in the Merriest Frames folder. Then I put the die from the Merriest Frames Hybrid Die set in place and cut out the large and gorgeous floral image.
I stamped one of the pretty sentiments from the Merriest Moments stamp set in Night of Navy in the center of the die cut and then popped it onto the card front with Stampin’ Dimensionals. Note: I deliberately made the die cut “upside down” when compared to the embossing on the card front – so that the pretty embossing is visible! 🙂

On a piece of Basic White, I stamped the large and small poinsettia from Merriest Moments in Rich Razzleberry. I stamped two leaves images and three small “frond” images in Old Olive. Then I cut them all out with their matching dies from the Merriest Frames Hybrid Dies.
I also cut five of the pretty flowers from the gold Specialty Metallic Paper.

I did some dry fitting and then adhered the leaves, fronds and gold flowers with Liquid Glue.

I stacked the flowers with a Stampin’ Dimensional and used Liquid Glue to adhere two of the little gold flowers with Liquid Glue. Then I adhered the flowers with a couple of Dimensionals.

I added some small, clear Wonderful Gems – one in the middle of the gold flowers on the poinsettia and two in the corner of the sentiment frame – and that was it for the card front!

On the inside, I added a second Merriest Moments sentiment in Night of Navy to a Basic White panel. Over the top, I stamped the largest frond image in stamped-off-once Old Olive. Then I added a small, clear Wonderful Gems gem.

I used Liquid Glue to adhere the panel to a Night of Navy mat and into my Thick Basic White card base, popped the card front on with Stampin’ Dimensionals and the card was done.
My Basic White Medium Envelope got the large frond image in full-strength Old Olive on the front…

…and again on the envelope flap.

Et Voila! How pretty is this three-piece Merriest Moments stamp set with the bundled Merriest Frames Hybrid 3D Embossing Folder?? It’s just a stunning way to create absolutely gorgeous layering pieces!!

I hope you like!
If you’d like to recreate this card, all the products and card cuts are listed below!
TTFN
M

Connect with me! https://campsite.bio/stampsnlingers
I’ve created a printable PDF with written instructions and a list of the products used to create this project. You can download, print and/or save it by clicking this image:


And – if you’ve missed any tutorials – or just want to be sure you have NOT! – check out my Free Tutorials Page!
HOST CODE FOR 16 OCT – 31 OCT: F3UQFV9T
Use this host code when you order $50 or greater and receive a free gift (AND the Monthly Card Tutorial) from me! If your order is over $150, please do not use this code, but you’ll still get the free gift. The free gift is your choice of any item valued up to $10.00 in any active Catalog! That includes some of the Host Exclusive stamp sets! See my Customer Rewards page for full details.
Note: Make sure that you can see my name on the final checkout page listed as your Demonstrator when you order so that you know that you’re ordering with me and you’ll get my rewards!
You’ll also be getting a link to my ZOOM The Craftroom (an exclusive TWICE-A-WEEK online event for my customers) and the monthly Online Tutorial. The October Tutorial features the Sparkle of the Season Bundle!


Stamps-N-Lingers Paper & Packaging Special Going on Now!
![]()
Here’s the deets:
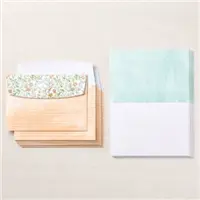
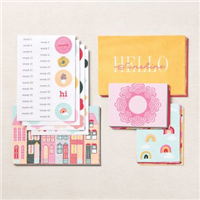
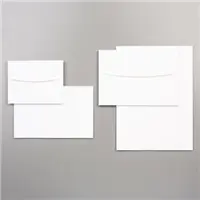
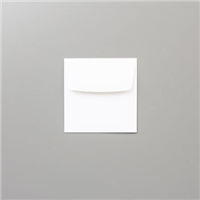
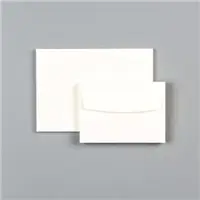
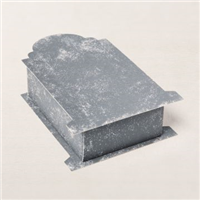
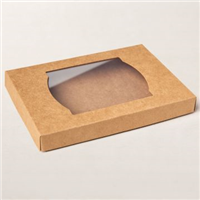
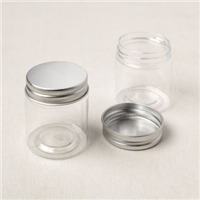
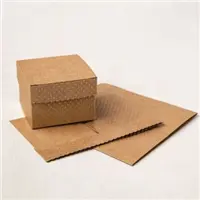
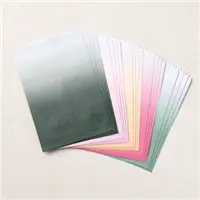
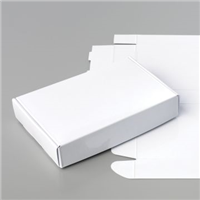
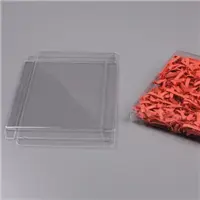
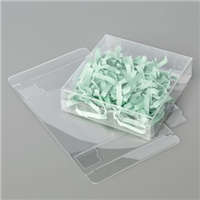
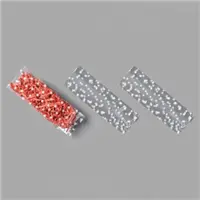
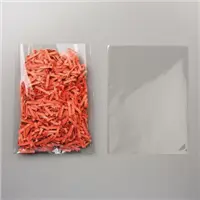
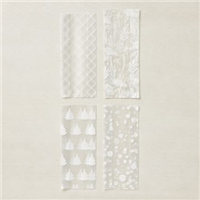
- For any order of $50 or greater (before shipping and taxes) placed through me, you’ll get to select a pack of Stampin Up! Envelopes, Note Cards & Envelopes, Acetate Card Boxes, Memories & More goodies, Treat Bags or Treat boxes of your choice from me – for free!
- This is IN ADDITION to your normal $10 thank you gift that you get to select when you add my Host Code (for orders under $150 – If your order is over $150, please don’t use this code…but you’ll still get the free gift!).
- You’ll also earn Peppermint Rewards points AND you’ll get my October Card Class Tutorials (featuring the gorgeous Sparkle of the Season bundle!).
How do you get your free Envelopes, Note Cards & Envelopes, Card Boxes or Treat Packaging?
All you’ve got to do is place your $50 or greater order and then email me your selection! I’ll order everyone’s goodies when I place my Host Order on 1 November and then send them out (along with your thank you gift) to you just as quick as I can!
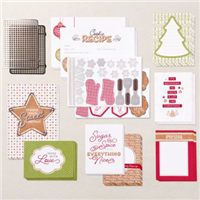
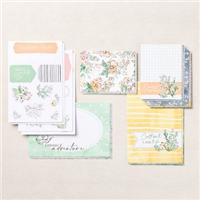
For quick reference, here are the all the goodies you can choose from:


Whoo-hoo!!
Deliveries will be slow – postage will be higher, but…maybe this little special deal-y-o will help to offset that a little? 🙂
Be sure to order by 26 October and get all your holiday card and gift making supplies. And TOMORROW you can ALSO get 15%off on those Cling stamp sets in the Annual Catalog. And you’ll build up your stash of gifting/mailing basics all at the same time! Winner winner chicken dinner!
Get the Stampin’ Up! Products Used in this Project:


Price: $5.00


Card Cuts Used in This Project:
Thick Basic White Cardstock: 4 1/4″ x 11″ (card base, scored and folded at 5 1/2″)
Night of Navy Cardstock: 4″ x 5 1/4″ (mats for card front and for inner liner); 1 3/8″ x 5 1/4″ (mat for Gold Metallic Strip)
Gold & Rose Gold 6 x 6″ Specialty Metallic Paper (in gold): 1 1/4″ x 5 1/4″ (strip on front); Merriest Frames Hybrid die cut flowers
Basic White Cardstock: 3 7/8″ x 5 1/8″ (card front and inner liner); Merriest Frames Hybrid die cuts (sentiment, flowers and leaves)
If you need any stamping supplies, I’d be very happy to be your Demonstrator. Just click on the Order Stampin’ Up! Online Now button on the right side of the screen to go directly to my online store or drop me an email if you have any questions. Happy Stamping!
Shop the Clearance Rack here. Earn FREE Stampin’ Up! Products – Join my Punkin Head Peppermint Rewards – My online customer thank you program!
Finn Fan Fix


Mom! You dropped something on the floor!

I think it’s a cheese bag!

Yep. Cheese bag. And…yes…I think….there’s still CHEESE in it!!

I’ll just take this and dispose of it properly, Mom.

TTFN
M