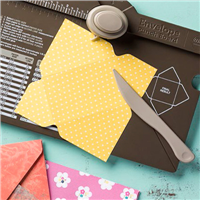
Yesterday, I shared a new tutorial on making custom envelopes and liners using your Envelope Paper, DSP and the SU! Envelope Punch Board (OBTW – this is the last day to get that little gem at 25% off!!). And, I promised that today I’d be sharing the card that went along with the sample envelope.
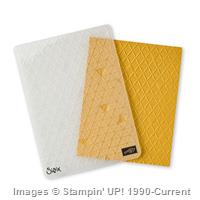
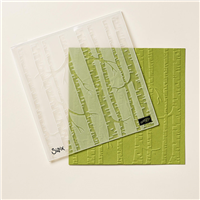
I am a little teensy bit hooked on this new Woodland Textured Impressions Embossing Folder! I am finding (and actively seeking!!) opportunities to use it. (Sept 1 is fast approaching folks and you’ll be able to get these new Holiday Catalog products for yourself. Start making your lists!!)
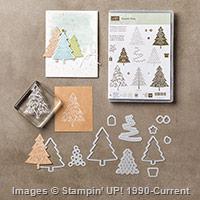
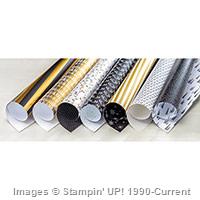
And I saw a card on Pinterest where someone had used that TIEF on one of my OTHER favorite new things…the Corrugated Paper. I knew I had to try it! Finally, one of my new stamp sets that I had yet to use is the very pretty Peaceful Pines – which coordinates with the Perfect Pine Framelits – and you can get them on 1 Sept in a bundle for 15% savings!. So – I combined all three of those for this card today. Take a look-see:

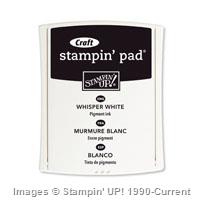
I started by running my Kraft Corrugated Paper panel though the Big Shot in the Woodland TIEF. Then I very lightly sponged the trees and trunks with my Whisper White Craft Ink. And set it aside to dry while I played with some pine trees!
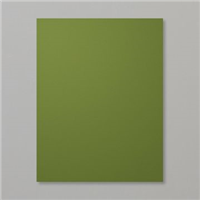
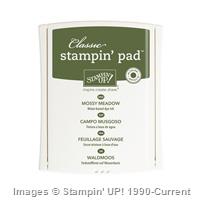
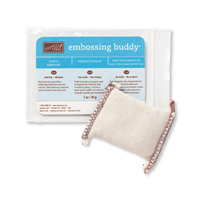
I picked the woodsy-est of the Peaceful Pines, and stamped them in Mossy Meadow Ink onto Mossy Meadow Card Stock. I cut all three trees out with the matching Perfect Pine Framelits. Then, to make the center pine, I brushed him with my Embossing Buddy in preparation for his golden ornaments. I inked up the “dots” stamp in the Peaceful Pines set with Versamark Ink, stamped the tree and then sprinkled it with Gold Stampin’ Emboss Powder. I shook off the excess – breathed a big of relief that ole EB (that’s the Embossing Buddy) had done his job and I didn’t have gold powder in places I didn’t want it – and then I heat embossed the tree.

To make the snow on the trees, I used a non-Stampin’ Up! (cause we don’t have one yet!) white gel pen and just drew on some snow! I tried to keep the snow on what I interpreted as the tops of the boughs.
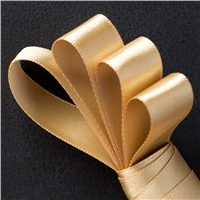
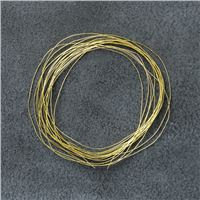
That center tree also got a double wrap of Gold Metallic Thread. So, you know all those pictures that you see in lifestyle magazines where there’s a beautiful pine tree standing out in the forest – and some enterprising person (or more likely some enterprising person’s employee!) has gone out and decorated said tree? So, there it stands, amid its brothers and sisters of the forest (I AM a child of Sunday-night Disney), shining in forest-y splendor…..well, that’s the center tree on my card!
To wrap the thread, I literally wrapped it like I would wrap garland on a Christmas tree – I let the “branches” of the die cut guide and hold the thread, and just secured the ends in back with a little piece of tape.

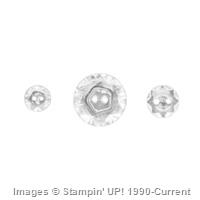
To finish him off, I punched an Itty Bitty Star from my Dazzling Diamonds Glimmer Paper, and also gold heat embossed the star in Peaceful Pines, and fussy cut it out. Note – there IS a die for the star in the Perfect Pine Framelits set but….I didn’t use it. Please don’t ask me why because I have no rational answer. I glued the gold embossed star to the top of the tree and the Itty Bitty Glimmer Paper Star behind it.
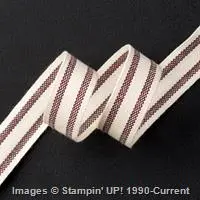
At this point, my embossed craft paper panel was dry, so I SNAILd it to a piece of Winter Wonderland Specialty DSP. I took a minute to add some gel pen “snow” to my aspens and then I pulled out my Blackberry Bliss 5/8″ Striped Cotton Ribbon. I first SNAILd the bottom tree to the card front, then wrapped the ribbon around and secured it on the back with more tape. Then I SNAILd the second tree down. Yes, I actually thought far enough ahead that I didn’t have everything stuck down in the wrong order so I had to pull it all apart. Not this time, no sir-ree!
The front tree is adhered with Stampin’ Dimensionals to give the card some more depth in addition to all the lovely texture from the TIEF and the corrugated paper!
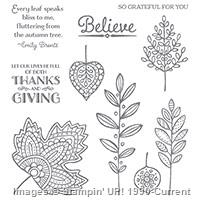
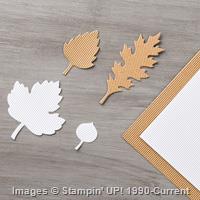
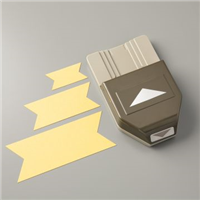
The sentiment is from the Lighthearted Leaves set – heat embossed in Gold on a banner of Mossy Meadow card stock. I made a little offset mat with some leftover Kraft Corrugated Paper, SNAILing them together and then to the card front. Both the banner and the mat were banner-ized in the Banner Triple Punch.
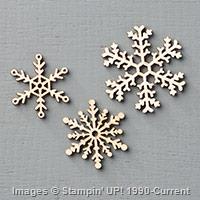
I smooshed one of the new (1 Sept) Snowflake Elements (which you’ll get in a Ribbon and Embellishment share….. 😉 ) into my Versamark ink pad, then sprinkled Gold Stamping’ Emboss Powder on it and Heat Embossed it. Then I glued it to the sentiment banner with Multi-Purpose Liquid Glue.
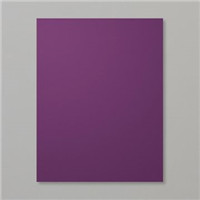
I popped the card front onto my Blackberry Bliss card base and the front was done!

For the inside, I Gold heat embossed one of the sentiments from Peaceful Pines onto a piece of Whisper White card stock. A few more trees stamped in Mossy Meadow finished it off.

Now, I know there’s not a lot of chatty how-ya-doin’ writing space on this card. Here’s my theory. There’s logic to it, I promise! I see this as a card that you sign your name to, coerce your hubby and kids to sign, and then send to your friend. Enclosed with the card is the 2-page annual what-we’ve-all-been-up-to-this-year letter. Hence – there’s no NEED to write a whole bunch of stuff on the inside of this card. See? Logic.
You already know that I made an envelope for this card, so I have a nice ensemble.

Pretty, huh? Love the rustic-ness of the corrugated paper against the subtle bling of the gold embellishments on the card. And the forest-y nature of the whole thing. Okay – I kind of really love this card all the way around! 😉
I’m on another business trip this week. Longer than last time, but shorter than my 4-month epic adventure. Even though I’m driving, I did NOT pack all my card stuff – seemed kind of like overkill for just 4 days! But I DID get cards made to share this week and I AM taking my Cottage Greetings kit and my Tin of Cards kit. So, I’ll be blogging and stamping all thru my trip!
Last day for this week’s Weekly Deals – and the Holiday Shares signups are drawing to a close…..
TTFN and see you tomorrow for the updates and the new Weekly Deals!
Mary
WEEKLY DEALS FOR 18 Aug – 24 Aug 15!! Click here to see the Weekly Deals from Stampin’ Up! in my online store. The Weekly Deals are only while supplies last and only available at these great prices through 24 Aug!

Built for Free Using: My Stampin Blog
2015 Holiday Shares are Open!

Shares are a great way to get a little bit of all the new Designer Papers, Ribbons and Embellishments to use in your holiday masterpieces! Go to the 2015 Holiday Catalog Shares page and see what could be coming your way! I’ll order early on 1 Sept, with expedited shipping, and get everything back out just as quick as I can!

Paper Pumpkin – the fun comes right to your door! Give it a try today!
Offer Dates: July 23-September 10, 2015
Get the details here!
STAMPIN’ UP PRODUCTS USED IN TODAY’S PROJECT:


Built for Free Using: My Stampin Blog
Card Cuts Used in Today’s Project:
Blackberry Bliss Card Stock: 5 1/2″ x 8 1/2″ (card base, scored and folded at 4 1/4″)
Kraft Corrugated Paper: 4″ x 5 1/4″ (card front); 1″ x 2 3/4″ (sentiment banner mat)
Winter Wonderland Specialty DSP: 4 1/8″ x 5 3/8″ (front mat)
Whisper White Card Stock: 4 1/8″ x 5 3/8″ (inner liner)
Mossy Meadow Card Stock: 1″ x 2 3/4″ (sentiment banner); Peaceful Pine die cuts
If you need any stamping supplies, I’d be very happy to be your Demonstrator. Just click on the Order Stampin’ Up! Online Now button on the right side of the screen to go directly to my online store or drop me an email if you have any questions. Happy Stamping!
Shop the Clearance Rack here.
Earn FREE Stampin’ Up! Products – Join my Punkin Head Peppermint Rewards – My online customer thank you program!
BACKORDER LIST AS OF 20 Aug 15
24 August
138281: Lots of Labels Framelits Dies (second shipment)
138296: Washi Label Punch (third shipment)
25 August
138288: Brick Wall Textured Impressions Embossing Folder
28 August
138435: Neutrals Designer Series Paper Stack
7 September
138401: Gold Metallic Thread
138402: Silver Metallic Thread
21 September
138378: Tin of Cards Project Kit (fourth shipment)


 #20 Demonstrator in Sales in the US 2023-2024
 #13 Demonstrator in Leadership in the US 2023-2024
 #21 Demonstrator in Team Building in the US 2023-2024


 KarensCardCorner
 Stamp with Amy K
 Stampin With Shirley G
 Tarabeth Stamps
 TL's Bright Spot
Love, love, love this Mary! The white touches on the pine trees are perfect and love how you decorated just one. Awesome background too! 🙂
Thanks, Amy! I was happy with how it turned out.
You knew I would love this…And I do!
Yep – it’s right in your wheelhouse! 🙂
Love your pine “forest”. BTW Stampin’ Up has a white gel pen on page 163 of the Annual Catalog.
Isn’t the new corrugated paper fun? Perfect background.
Thanks, Debra! For the nice words and the info! 🙂