Well, it’s Friday-eve! Which is a little like Christmas Eve. Except that tonight you probably don’t have to stay up putting together a lot of “some assembly required” toys! Or is that even a thing any more? Do toys come out of the box ready to go? Maybe they just need to be plugged in. I’m out of touch in the toys-for-Christmas department!
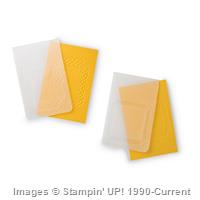
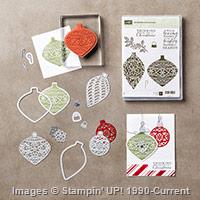
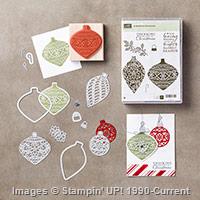
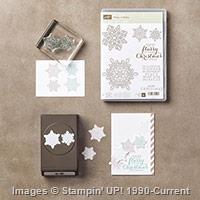
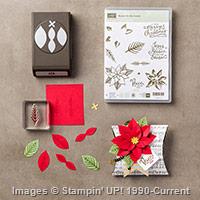
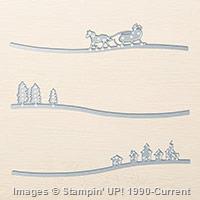
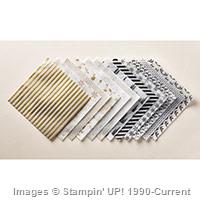
My card today features the new Sleigh Ride Edgelits (not THAT sleigh – no reindeer here!) and Wondrous Wreath, with some Winter Wonderland Designer Vellum thrown in for good measure. Not to mention an assist from Happy Scenes! It’s a melding of the new and the not-so-new, to make a pretty 3-color Christmas Card. Take a look-see:

This card was inspired by two Challenge Sketches. The design sketch is from Freshly Made Sketches – go see what they’ve come up with!

And the color scheme comes from Stamp, Ink, Paper – they sometimes do sketch challenges and sometimes color challenges!

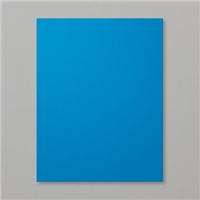
I chose Pacific Point as my pop-of-color color!
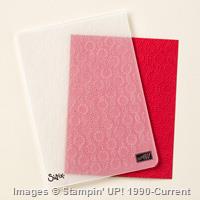
I started by running a panel of Pacific Point card stock thru my Big Shot in the Elegant Dots TIEF. I pulled out Softly Falling and contemplated using it – but decided I wanted a more symmetrical pattern, so Elegant Dots won the coin toss!
I’d originally thought I might wrap some Pacific Point Satin Ribbon around the card front, but the design didn’t need it (or really even support it at all), so I went ahead and SNAILd that embossed piece to a mat of Basic Black card stock.
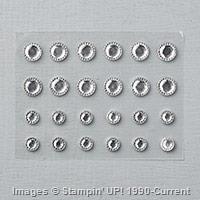
The art piece is three layers: a Basic Black mat, a piece of Pacific Point card stock, and a piece of new Winter Wonderland Designer Vellum Stack. I SNAILd the Pacific Point to the Basic Black, and then used Multi-purpose Liquid Glue on the vellum – keeping it behind the banner area and the embossed images as best I could. I also used a glue dot on the corners – it was needed – and I figured I’d hide them with a few Iced Rhinestones! 🙂

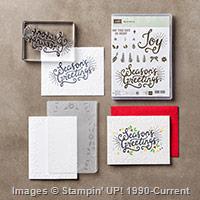
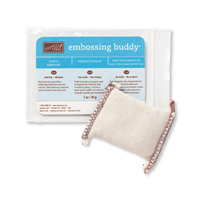
I heat embossed the sentiment from Wondrous Wreath onto the art piece vellum. Be sure to use your Embossing Buddy – cause if there’s stray Stampin’ Emboss Powder when you hit it with the Heat Tool….it’s there for the duration, baby! With that, I set the art piece aside, and built my banner.
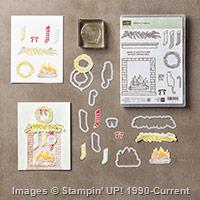
I cut the banner using the Sleigh Ride Edgelits from the new Holiday Catalog – which I got as a Bundle with Jingle All The Way for a 15% savings! The black piece is pretty obvious – the Dazzling Diamonds Glimmer Paper snow is just the Trees edgelit, with the trees cut off! I played around with how I wanted them to go together – I kind of wanted it to look like you were seeing the shapes of the horse and sleigh at night, crossing a snowy field! Once I was happy with them, I SNAILd the two pieces together.
Then I assembled the rest of the card, so I could see how long to make banner – before I made the banner.
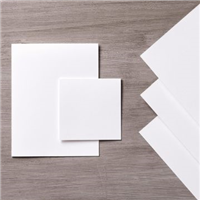
I SNAILd the Elegant Dots embossed panel to a card base of Whisper White Thick Card Stock. You’ll notice I have a bigger-than-usual frame around the card front. I wanted more white showing. Why? No clue. Just seemed like a good idea. Perhaps I was channeling my inner crafty person. The one that wanted to be a design major in college but never knew it! 😉
I popped the Winter Wonderland vellum art piece, with its Black embossed Wondrous Wreath sentiment, onto the card with Stampin’ Dimensionals. Then I was able to determine how long I wanted my banner, so I fussy cut the banner ends. I like how it ended up straight across the bottom (from cutting it with the Paper Trimmer) and curvy on the top. It created a sort of wavy, free-form banner that just kind of works!
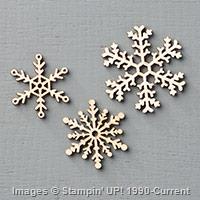
I used Multi-Purpose Liquid Glue to adhere the banner to the card. Then I smooshed a small Snowflake Element into Whisper White Craft Ink, sprinkled it with Clear Stampin’ Emboss Powder and heat embossed it.

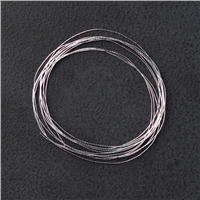
I pulled a length of Basic Black Baker’s Twine AND a length of Silver Metallic Thread thru the Snowflake, and tied a bow. A little muttering under my breath was required for this pretty persnickety bow, let me tell you. But I finally got it, and adhered it all to the card with Multi-Purpose Liquid Glue. The final touch was to add the Iced Rhinestones and some extra bling with my Rhinestone Basic Jewels!

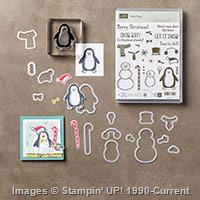
For the inside, I used a second sentiment from the Wondrous Wreath, stamped in Pacific Point. I gotta tell you guys – this inside was not at all cooperative! I stamped that darned sentiment at least 5 times before I got it even sort of how I wanted it! I ended up using a Whisper White liner piece – cause I messed up the first sentiment stamp on the basic card. Oh well – it worked (finally!). 🙂 I also added some snowflakes from the new Happy Scenes stamp set in the corners. And – for all the Pacific Point ink on my fingers and everywhere else – I love how it turned out!

Et Voila! A Black/White/and Blue Christmas Card! 🙂
Don’t miss out on the opportunity to gather up extra Punkin’ Head Peppermints this week! Head over to my Rewards Page to see what it’s all about – but remember that thru Monday the 7th (that’s Labor Day, OBTW – and maybe you’ll have a DAY OFF!!?) – you’ll get TWO peppermints for every $50 in product you purchase!
TTFN!
Mary
WEEKLY DEALS FOR 1 Sep – 7 Sep 15!! Click here to see the Weekly Deals from Stampin’ Up! in my online store. The Weekly Deals are only while supplies last and only available at these great prices through 7 Sep!


Built for Free Using: My Stampin Blog

Paper Pumpkin – the fun comes right to your door! Give it a try today!
Offer Dates: July 23-September 10, 2015
Get the details here!
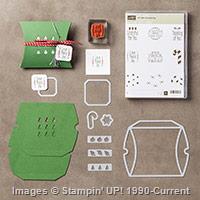
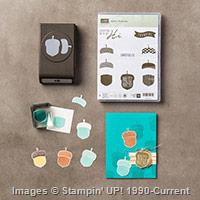
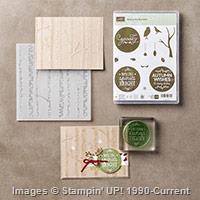
BUNDLES BUNDLES EVERYWHERE!!
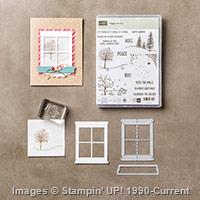
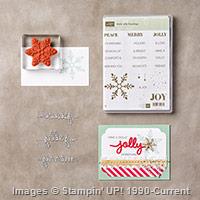
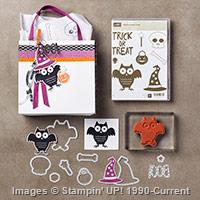
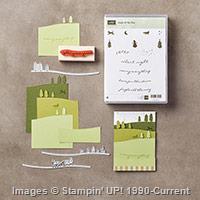
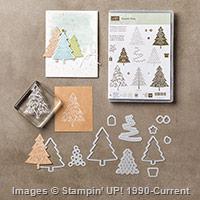
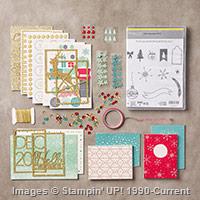
Bundles are a super high-value way to pad your crafting tool box. Stampin’ Up! combines a great stamp set with a coordinating Framelit set or a Punch. Instant gratification AND 15% off! Take a look-see at the 2015 Holiday Catalog possibilities:


Built for Free Using: My Stampin Blog
STAMPIN’ UP PRODUCTS USED IN TODAY’S PROJECT:


Built for Free Using: My Stampin Blog
Whisper White Thick Card Stock: 5 1/2″ x 8 1/2″ (card base, scored and folded at 4 1/4″); 4 1/8″ x 5 3/8″ (inner liner)
Pacific Point Card Stock: 3 1/4″ x 4 3/4″ (Elegant Dots embossed card front); 2 1/4″ x 3″ (art piece behind Winter Wonderland Vellum)
Winter Wonderland Designer Vellum: 2 1/4″ x 3″ (front art)
Basic Black Card Stock: 3 3/8″ x 4 7/8″ (card front mat); 2 3/8″ x 3 1/8″ (art piece mat); 3/4″ x ~ 3″ (Sleigh Ride banner)
Dazzling Diamonds Glimmer Paper: 3/4″ x ~ 3″ (snow banner)
If you need any stamping supplies, I’d be very happy to be your Demonstrator. Just click on the Order Stampin’ Up! Online Now button on the right side of the screen to go directly to my online store or drop me an email if you have any questions. Happy Stamping!
Shop the Clearance Rack here.
Earn FREE Stampin’ Up! Products – Join my Punkin Head Peppermint Rewards – My online customer thank you program!
BACKORDER LIST AS OF 2 Sep 15
3 September
140928: Basic Black Archival Stampin’ Pad (652 backordered; 1,800 expected)
4 September
138288: Brick Wall Textured Impressions Embossing Folder (4,517 backordered; 9,504 expected)
8 September
139622: Spider Web Paper Doilies
11 September
137866: Sahara Sand 7/8″ Lace Trim
138378: Tin of Cards Project Kit
14 September
138395: Expressions Natural Elements (192 backordered; 5,992 expected)
28 September
139304: Fluttering Textured Impressions Embossing Folder
23 October
139643: Reindeer Paper Clips (1,028 backordered; 10,080 expected)


 #20 Demonstrator in Sales in the US 2023-2024
 #13 Demonstrator in Leadership in the US 2023-2024
 #21 Demonstrator in Team Building in the US 2023-2024


 KarensCardCorner
 Stamp with Amy K
 Stampin With Shirley G
 Tarabeth Stamps
 TL's Bright Spot
Oh wow Mary this card is stunning!!! Love the color scheme and the touches of glitter, perfect for the holidays. Awesome!!!!
Thanks so much, Amy! 🙂
Nice! Love the glistening snow effect…perfect for a sleigh ride.
Thanks, Mom! 🙂
You are so creative! I love how you did your flagged banners with the curves! Brilliant! The wider white frame is awesome; love the look. And, your color choice ROCK’s!
So very nicely done!
Thanks for sharing with us!!!
Thanks so much, Lynn. What a nice compliment! 🙂
Mary-so so pretty! Love all of the elements on this card!
Thank you, Jari! ☺️
What a gorgeous card! I love how you used the sleigh ride edgelits! The blue was just perfect for the pop of color on this too! Thanks so much for joining us at Stamp, Ink, Paper for our color challenge this week!
Thank you so much, Tina! 🙂
Absolutely gorgeous! Those edgelits are so pretty, and you paired them with such yummy embellishments! Thanks so much for playing along with us this week at Stamp, Ink, Paper!
Thanks very much, Sandy! 🙂