

Hello hello! Happy Sunday! We had a great time yesterday – ate some cake, chatted with friends, cheered over the game! Had to leave a little before the game ended to come home to feed ponies. And Finn!
The card I made yesterday is a clean-and-simple little number – it’s a silhouette card using the Sunkissed stamp set – I was feeling in a tropical mood, I guess! And I created a cool cloudy-sky effect using the Basic Borders Die set. Take a look-see:

Seriously – looks like a windswept beach in Maui as the afternoon squall approaches! 🙂
I was playing along with the theme challenge at the Global Design Project this week.


The first thing I did was to use the smaller oval die from the new Framed Florets die set to cut an oval from the middle of a piece of Basic White cardstock. This became the mask for the oval shape. Tip: if you make this piece of cardstock the same size as your actual card front panel (3 7/8″ x 5 1/8″ in this case!) it makes it a HECK of a lot easier to get everything lined up! 😉
I used some repositionable tape runner to adhere (temporarily!) my actual Basic White card front to my work surface. Then I used sticky notes to adhere the mask in place over the top.

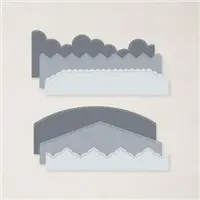
I made my cloud template by cutting a piece of Window Sheet with the ‘cloud” edge in the Basic Borders Die set. This is a stand-alone (aka a la Carte!) die set in the 2022-2023 Annual Catalog. I made the sheet a little longer than the width of my card front.

I held the cloud template in place – starting at the bottom of the oval, and used a Blending Brush to lightly add Balmy Blue ink just above the masked edge. Then I moved the mask up a ways – moved it left or right so that the clouds were “staggered” like “real” ones – and did it again! Tip: when using the Blending Brush – or really ANY ink blending tool – start OFF your card front. It’s too easy to get a glob and…no one wants that! 🙂
I repeated that until I’d made a pretty cloudy sky in the oval.

When I made it to the top of the oval – I picked up the mask and placed my card front into my Stamparatus. Then I used the Stamparatus to stamp the large palms image from the Sunkissed stamp set in Early Espresso ink.
The next element is the sentiment from the Sunkissed set, simply stamped in Early Espresso ink.

I adhered the panel to a Balmy Blue mat with Stampin’ Seal and the card front was done!
On the inside, I stamped a second sentiment from the Sunkissed set in Early Espresso on a Basic White panel. I Blended on a little Balmy Blue ink in the corner and used the Stamparatus again to stamp the Sunkissed palms in Early Espresso.

I used Stampin’ Seal to adhere the panel to a Balmy Blue mat and into my Early Espresso card base, popped the card front on with Stampin’ Dimensionals and the card was done.
My Basic White Medium Envelope got a little Balmy Blue Blending and the Sunkissed palms on the front…

…and a piece of Balmy Blue Subtles 6″ x 6″ DSP – with the cute little pelican from Sunkissed stamped in Early Espresso! – on the envelope flap.

Et Voila! I love this card so much! Modest, aren’t I?! 🤦♀️🤦♀️🤦♀️ But I do! I really love silhouette cards and these big breezy palms from the Sunkissed set are just perfect! And – that cloudy sky – created with some quick blending and a “stencil” cut from a Window Sheet using the Basic Borders die? Oh yes – I can see the squall line approaching!

I hope you like!
If you’d like to recreate this card, all the products and card cuts are listed below! And – this is the card I made on my YouTube video yesterday! If you’d like to see it – for the first time or again! – here’s the link on YouTube!! 🙂

I’ve also created a printable PDF with written instructions and a list of the products used to create this project. You can download, print and/or save it by clicking this image:


Missed any tutorials? You can check out my past projects right here!
TTFN
M

Connect with me! https://campsite.bio/stampsnlingers
HOST CODE FOR 1 NOV – 15 NOV: RYKP6MSU
Use this host code when you order $50 or greater and receive a free gift (AND the Monthly Card Tutorial) from me! If your order is over $150, please do not use this code, but you’ll still get the free gift. The free gift is your choice of any item valued up to $10.00 in any active Catalog! That includes some of the Host Exclusive stamp sets! See my Customer Rewards page for full details.
Note: Make sure that you can see my name on the final checkout page listed as your Demonstrator when you order so that you know that you’re ordering with me and you’ll get my rewards!
You’ll also be getting a link to my ZOOM The Craftroom (an exclusive TWICE-A-WEEK online event for my customers) and the monthly Online Tutorial. The November Tutorial features the Very Best Occasions Bundle!


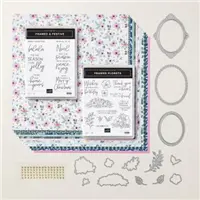
The Fitting Florets Collection is Here!

The collection consists of five elements and all items in the collection can be ordered separately or pickup the whole Collection (item #163129)! And you can order as many of everything as you like (I mention this particularly for the use-up-able gorgeous DSP and embellishments!).
NOTE: The following exclusive products are only available while supplies last (and will NOT BE AVAILABLE at all after 4 Jan 2023!!):
– Framed & Festive Cling Stamp Set (item 160888)*
– Fitting Florets Designer Series Paper (item 161814)
– Gold Adhesive-Backed Swirls (item 161822)
The following items WILL BE AVAILABLE for purchase in the Mini Catalog starting January 2023:
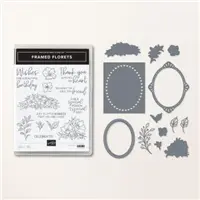
– Framed Florets Bundle (item 162407)
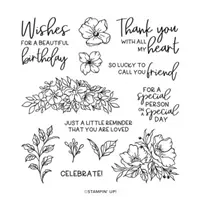
– Framed Florets Photopolymer Stamp Set (item 161815)*
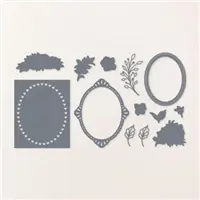
– Framed Florets Dies (item 160623)
Qualifying orders are eligible for Stampin’ Rewards, but the Fitting Florets Collection (item 163129) cannot be purchased as your 50% off item!
Here are all of the pieces and parts of this amazing new collection right in my Online Store!! 🙂

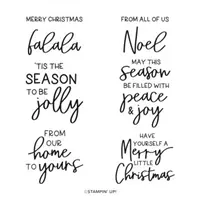
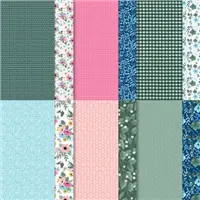
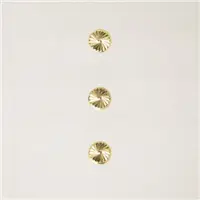
Get the Stampin’ Up! Products Used in this Project:
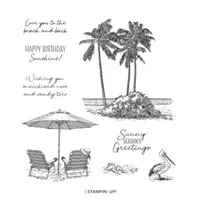



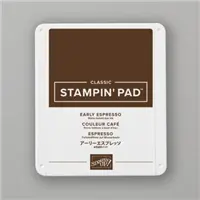


Card Cuts Used in This Project:
Early Espresso Cardstock: 4 1/4″ x 5 1/2″ (card base)
Balmy Blue Cardstock: 4″ x 5 1/4″ (x2 – mats for card front and for inner liner)
Window Sheet: to cut Basic Border die cut edge to make clouds
Basic White Cardstock: 3 7/8″ x 5 1/8″ (x2 – card front and inner liner) – plus one more of the same size to create the oval mask
Subtles 6″ x 6″ DSP – in Balmy Blue: 2 1/4″ x 6″ (envelope flap)
If you need any stamping supplies, I’d be very happy to be your Demonstrator. Just click on the Order Stampin’ Up! Online Now button on the right side of the screen to go directly to my online store or drop me an email if you have any questions. Happy Stamping!
Shop the Clearance Rack here. Earn FREE Stampin’ Up! Products – Join my Punkin Head Peppermint Rewards – My online customer thank you program!
Finn Fan Fix


Finn stayed home while we went to the birthday gala/game night. FYI – UGA beat Tenn! Whoo-hooo!!
The birthday girl started the event in a mix of Tenn Orange and UGA red (her little shoes)…
Here’s she’s sitting with her Dad, Chris…

…and then Matt (Chris’ identical twin) arrived with his wife and…Jules decided HE was maybe her Dad, too!

Then it was over to Grandpa Ed – who, apparently, needed his beard held!

After dinner – she was seated in her throne and presented with a…Smash Cake.
Did y’all know that that’s a thing? A little cake created solely for the purpose of being smashed and smeared and essentially destroyed by the guest of honor.

Now – straight up – I was expecting something along the lines of the old Gallagher bit – with the sledgehammer and watermelons. Who remembers that??
The reality was much less exciting!
Chris helped her figure it out and she sort of got into it.


…she was pretty much covered with frosting.
The cake was mostly intact – but the frosting took a hit! She was wearing about half a cake’s worth.
So – it seemed like a good time to change into UGA supporter clothes! She’s pretty stinkin’ cute!

…and she retired to the house to watch the rest of the game and cheer on the team.

It was a fun evening!
One I have zero doubt she’ll have forgotten by tomorrow! 😉
TTFN
M