A hundred years ago or so, when I was in California…or, wait. Maybe it was only a couple of months! Time sure does fly by, yes? Anyway, while I was in CA, I made a cool little flower embellishment (check out my Tutorials page to see how to make your own customized fancy flower! ), that I fully intended to use on whatever card I was making at the time. Only, I couldn’t make it work on it for anything. So, I stuck the little flower into my little bag o’ scraps (perhaps I’ve mentioned that I have both Scots AND pack-rat-itis in my blood?!?) to save for another card.
Fast forward to today. When I saw the Mojo Monday sketch from which this card share is derived – I saw “flower”. And then I thought – hey! I can use the little CA flower. Here’s the sketch:

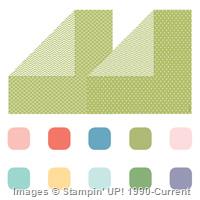
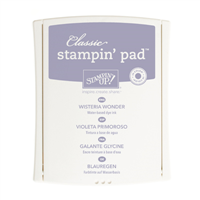
I was also still playing with the challenge from our upline to use the color purple in our projects for the week. And, on Pinterest, I saw a card that paired Wisteria Wonder with the new Mint Macaron, and I’d loved that combo. So I combined the three ideas (if you’re counting that’s the Mojo Monday sketch, the purple challenge, and the Pinterest idea) and came up with this card. Take a look-see:

Spring-y, huh? So – I made my first mistake on this card right quick-like. What I DID was cut the Wisteria Wonder Subtles Background piece and the So Saffron Background piece and SNAIL them directly to my Mint Macaron card base (with the bottom right corner rounded using the punch on the Envelope Punch Board). That would ultimately end up making the remainder of the card somewhat harder to execute. Don’t be like me. What I SHOULD have done – and what I’d urge YOU to do when you CASE this – is to have made a base mat of either Wisteria Wonder or So Saffron card stock and SNAILd my pieces to THAT. Then I’d have added all the rest of the pieces of the card front to that full-size piece and THEN SNAILd it all to the card front. I’ll elaborate on just WHY I should have done it that way in just a minute!
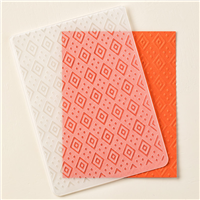
Back to where I was. I ran a square of Mint Macaron thru the Big Shot in my Boho Chic TIEF, SNAILd it to a mat of Wisteria Wonder and then SNAILd the entire piece to the card front.
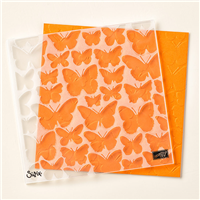
And here’s when it got tricky. I made my Whisper White panel by running a rectangular piece – longer than the width of my card front – thru the Big Shot in the new Fluttering TIEF (I guess I’ve told you that 1) this is one of my favorite new items in the catalog and 2) a group of butterflies is actually referred to as a “fluttering”. I know – you’re fascinated!). And this is why doing the card the way I SHOULD have done it would have been such a great idea. At this point I had to try to get the diagonal layout, without being able to either wrap my lace trim or trim my paper after adhering it. I had to measure and hope. Neither of which is the bestest plan! But – that’s what I did.

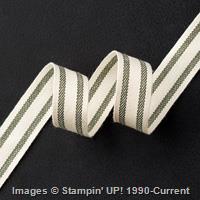
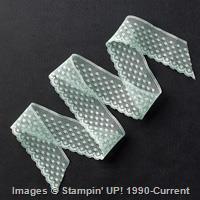
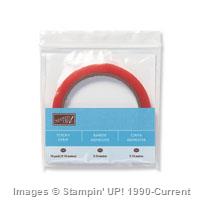
First I used glue dots to adhere two lengths of the new Mint Macaron Dotted Lace trim to the card on the diagonal – and then carefully snipped it off to align with the edge of the card. Then I used some SNAIL and laid the embossed Whisper White Card Stock down – trimming it again to match my diagonal. That took a little persnickety patience – think how much easier it would have been to be able to wrap that lace around the card and adhere it on the back of the mat – and then trim the card stock. Duh. Like I said – don’t be like me! 😉
But – that piece was done, so I pulled out my well traveled little flower embellishment and prepared to adhere it to the card.
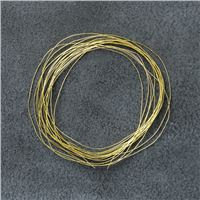
And it was entirely wrong. Completely wrong colors. Seriously?!? This little flower may never find a home. I even half-heartedly tried to pry it apart (no go – that Multi-Purpose Liquid Glue is STRONG stuff, folks!!). So, I made another one just like it – only in the correct colors. It’s easy. And Peasy. No worries. The flower is layered in more of the Wisteria Wonder and So Saffron Background paper and some Gold Fancy Designer Vellum. If you want to see the full details on how to put together this flower, go over to my Tutorials page.

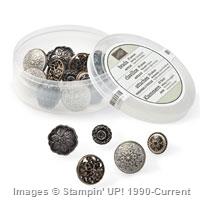
After I made my basic flower, I used my Piercing Tool and made a hole in the center of the flower – so I could stick my Antique Brad thru it and finish the flower. I adhered the flower to the card with a few more Glue Dots.
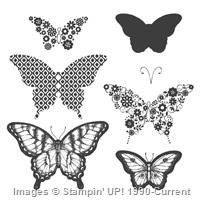
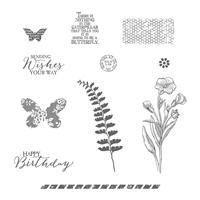
I pulled out the Papillon Potpourri stamp set to make the butterfly. I stamped two of the flower-dy guys in Wisteria Wonder – the large one on Wisteria Wonder Card Stock and the smaller on Whisper White and then punched them out with the Elegant Butterfly and Bitty Butterfly punches. I glue dotted them together, added some Pearl Basic Jewels and added them next to the flower with a glue dot.
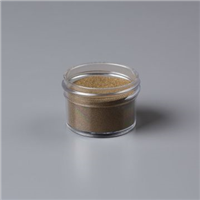
The Celebrate sentiment is kind of fun. I took one of the new Expressions Natural Elements and squished it down on my Versamark Ink pad to get the top all covered in ink. Then I sprinkled Gold Stampin’ Emboss powder all over it, shook the excess off and heat embossed it. Look how shiny and purty it got!!

I stuck it down with lots of little tiny dots of Multi-Purpose Liquid Glue and the front was done!
I kept the inside simple, since there’s a lot going on out front. Just a couple of strips of the the same Wisteria Wonder Subtles Background Paper and some Wisteria Wonder Card Stock on a piece of Whisper White Card Stock. I did mix it up a bit by putting the strip at the top instead of the bottom. I’m crazy that way – it’s just how I roll!

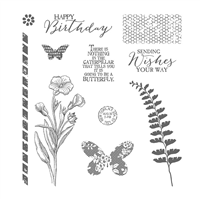
About this time, I had a request for a Birthday Card from a friend of mine. For his wife. So – I gold embossed the sentiment from the Butterfly Basics on the inside:

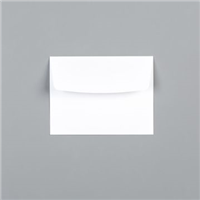
I really think that’s one of the prettiest fonts we have – it’s a go-to for me. I then gussied up a Whisper White Medium Envelope, by SNAILing and trimming some more of the background paper on the inside of the flap, and then I stamped “I Love You” from the Good Greetings set in Mint Macaron, right under the flap. No, I know – that’s just too freakin’ sweet! 😉 I added some sticky strip to the flap for him to seal the envelope….et voila! Done!

Good catch! In fact I did NOT take a picture with the sticky strip in place. Why? Cause I’m goofy! But, trust me – it was there!
I hope that you like this card – I think it turned out quite pretty and hope that Shawn’s wife likes it when she opens it up! And – I still have a little flower leftover…. 🙂
Weekly Deals are still available – but several of the new items have already sold out. Take a look at what’s still available and get your favorite ordered right away.
Be sure to check out my new Tutorial page – and if there’s something you’d like more detail on how to make, let me know!
See you tomorrow for the Tuesday updates!
TTFN
Mary
Jun 30 – Jul 15 HOSTESS CODE: 7AH4BGAC: Use this hostess code when you order and receive a free gift from me! But, if your order is over $150, please do not use this code (you’ll miss out on your own Stampin’ Rewards/Hostess $$ if you use it) but you’ll still get the free gift. The free gift for June is your choice of any item valued up to $8.00 in the brand new 2015-16 Annual Catalog!
Last Day for this week’s Weekly Deals!
WEEKLY DEALS FOR 7 Jul – 13 Jul 15!! Here’s what’s still available! Click here to see the Weekly Deals from Stampin’ Up! in my online store. The Weekly Deals are only while supplies last and only available at these great prices through 13 Jul!

Built for Free Using: My Stampin Blog
Stampin’ Up! Products Used in Today’s Project:


Built for Free Using: My Stampin Blog
Card Cuts Used in Today’s Project:
Mint Macaron Card Stock: 4 1/4″ x 11″ (card base – scored and folded at 5 1/2″); 2 3/4″ x 3″ (Top square in Boho Chic TIEF)
Wisteria Wonder Card Stock: 2 7/8″ x 3 1/8″ (Mat for Mint Macaron square); 3/4″ x 4 1/8″ (inner liner mat); butterfly punch
Wisteria Wonder Subtles Background DSP: 3 1/2″ x 4 1/8″ (top front mat); 1/2″ x 4 1/8″ (inner liner strip); Fun Flower Punches
So Saffron Subtles Background DSP: 1 3/4″ x 4 1/8″ (bottom front mat); Fun Flower and Pansy Punches
Whisper White: 4 1/8″ x 5 1/4″ (inner liner); 1 3/4″ x 4 1/8″ (diagonal strip, trimmed to fit); butterfly punch
Shop the Clearance Rack here.
Earn FREE Stampin’ Up! Products – Join my Punkin Head Peppermint Rewards – My online customer thank you program!
BACKORDER LIST AS OF 9 Jul 15
13 July
138288: Brick Wall Textured Impressions Embossing Folder
138448: Farmers Market Designer Series Paper
15 July
113475: Big Shot Standard Cutting Pads
17 July
138377: Cottage Greetings Card Kit (second shipment)
21 July
138376: All Boxed Up Kit
22 July
138378: Tin of Cards Project Kit (second shipment)
24 July
138295: Tree Builder Punch (initial shipment will not cover all backorders)
27 July
138395: Expressions Natural Elements
31 July
135862: Gift Bag Punch Board
138401: Gold Metallic Thread
138402: Silver Metallic Thread
1 August
138286: Boho Chic Textured Impressions Embossing Folder
Date to be Determined
138700: Best Thoughts Clear Stamp Set (hostess)
138706: Hey, Girl Photopolymer Stamp Set
139756: Embellished Ornaments Wood Stamp Set
NOTE: The Tin of Cards and Cottage Greetings Card Kits have been ENORMOUSLY popular! Beyond any that have been offered by SU! before. SU! is working furiously to get these great kits back in stock – they’re air shipping them versus ship shipping (!?!) and having them sent as quickly as they’re produced, to get them to us faster. If these are on your wish list, I’d suggest you get your order placed now, so that you’re in the queue!!


 #20 Demonstrator in Sales in the US 2023-2024
 #13 Demonstrator in Leadership in the US 2023-2024
 #21 Demonstrator in Team Building in the US 2023-2024


 KarensCardCorner
 Stamp with Amy K
 Stampin With Shirley G
 Tarabeth Stamps
 TL's Bright Spot
Beautiful Mary!! Love your little flower and your story about the lace trim/flower mishap. No mistakes, just “opportunities” for embellishment. 😉